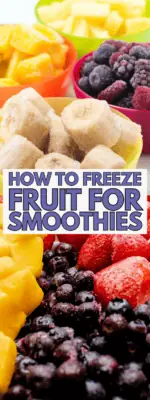
How to Freeze Fruit for Smoothies
Freezing fruit for smoothies is such a great way to preserve extra fruit you have on hand. If you ever find yourself with more ripe fruit than you know you can eat before it spoils, freezing fruit for smoothies is a great way to preserve it!
Even if the fruit is starting to get mushy or soft, freezing it will allow you to enjoy it later, which helps reduce waste and can also help save you money. Keep reading for great tips and tricks on how to freeze fruit for smoothies.
Budget friendly and cost savings
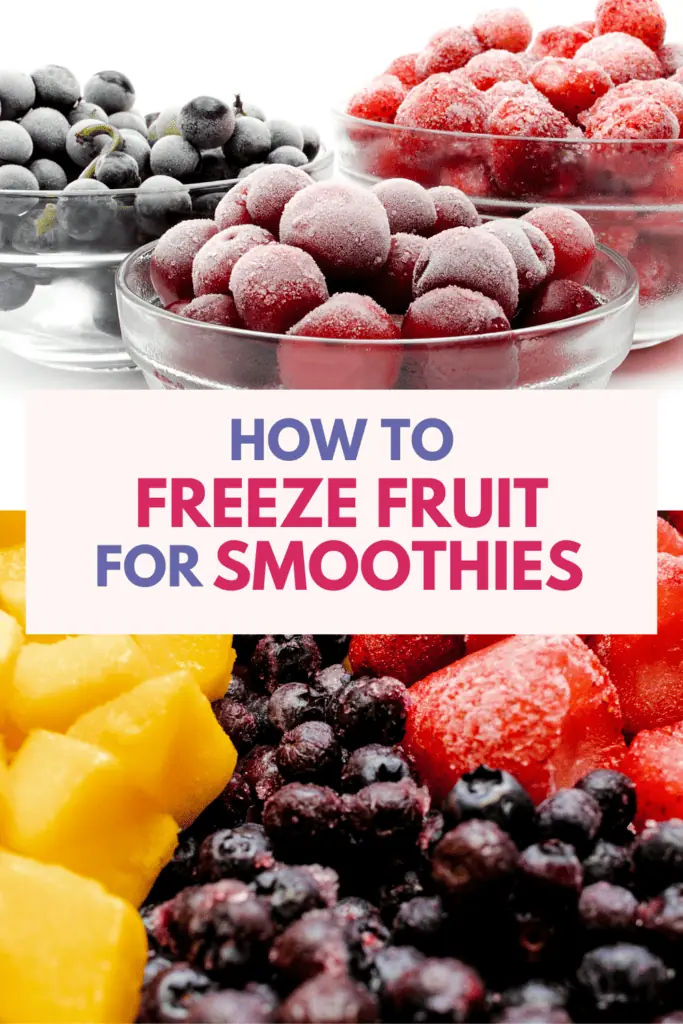
Freezing fruit that you find on sale may help you save money, especially if you can stock up when the fruit is in season. If you see a great sale on fruit, buy extra and freeze it for those times when fruit is no longer on sale. This is such a great tip if you often shop at stores like Costco and know you can’t get through 5 pounds of fruit in a week or two before it spoils.
Also if you ever find that you have a picky toddler or child that suddenly refuses to eat the fruit you bought, you can save it for smoothies instead!
Why should you freeze fruit for smoothies
Using frozen fruit in smoothies is the key to creating a super thick, creamy smoothie that is extra cold and extremely refreshing.
Using fresh fruit in smoothies creates a smoothie that has more of a juice consistency instead of creamy and thick milkshake texture. Usually to combat this, ice is added to the smoothie to get that same creamy, cold smoothie that everyone loves.
However, ice can water down the flavor, and using frozen fruit helps to give the smoothie the same consistency while preserving the flavor.
Things to consider before you start freezing fruit for smoothies
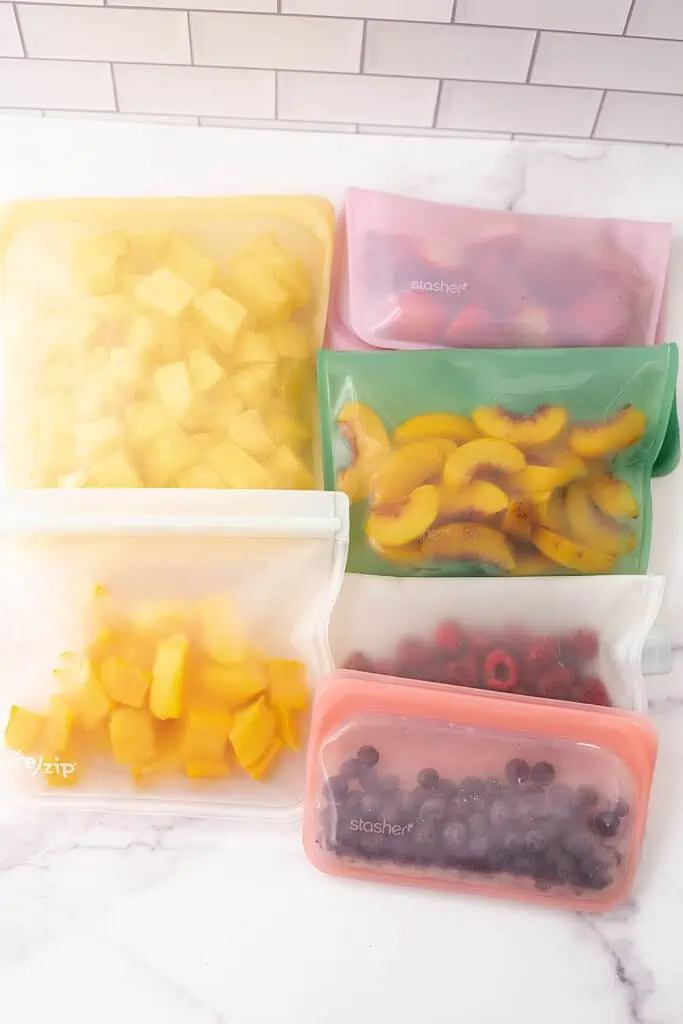
- Do you have room in the freezer for this fruit? I know this seems like a silly question but it’s important that you have the space in the freezer not only to store the fruit once it’s frozen, but also to freeze the fruit first. Typically, the best way to freeze fruit so it doesn’t stick together is to freeze it flat on a baking sheet until frozen, then transfer it to a freezer safe bag or container.
- Is the fruit ripe? The last thing you want to do is freeze fresh fruit for smoothies that is underripe and not as sweet. It’s better to freeze fruit that is overly ripe than under ripe when it comes to smoothies.
- Do you have everything you need on hand? You don’t need much to freeze fruit, but there are a few things that I consider to be necessary to have the most success when freezing the fruit.
- A baking sheet that will fit into your freezer easily.
- Wax paper, parchment paper or a silicone liner. This will ensure that the fruit doesn’t stick to the baking sheet when freezing. Freezing fruit flat on a baking sheet will help ensure that the fruit doesn’t stick together in the bag (which has to be the most frustrating thing ever).
- Freezer safe bag or container to store the fruit in once it’s frozen? I love to use reusable silicone storage bags because they are easy to open and close and can be reused often. However, regular freezer bags (like ziplock bags) will also work well.
What is the best way to freeze fruit for smoothies
The method for freezing fruit for smoothies is pretty similar no matter what fruit you are using, but I will offer tips for each of the major groups of fruits that you may want to freeze. The typical process is:
- Start by washing and prepping the fruit (remove skin, stems, leaves, etc.). Let the fruit dry on a clean towel or paper towel if wet from washing. Leaving water on the fruit will cause freezer burn so be sure to really dry out the fruit.
- Cut the fruit into manageable pieces if needed (like for bananas, mango, pineapple, orange, etc.). This helps make it easier on your blender when blending and also makes it easier to measure out the ingredients.
- Place the fruit in a single layer on a baking sheet lined with parchment paper, wax paper or a silicone liner (this helps ensure that the fruit won’t stick to the baking sheet once frozen). By freezing the fruit on a baking sheet first, it helps prevent the fruit from clumping together in the freezer.
- Put the fruit in the freeze and freeze solid (usually about 8-12 hours or less). Once frozen solid, transfer to a freezer safe bag or container.
How to freeze fruit for smoothies
How to freeze bananas for smoothies
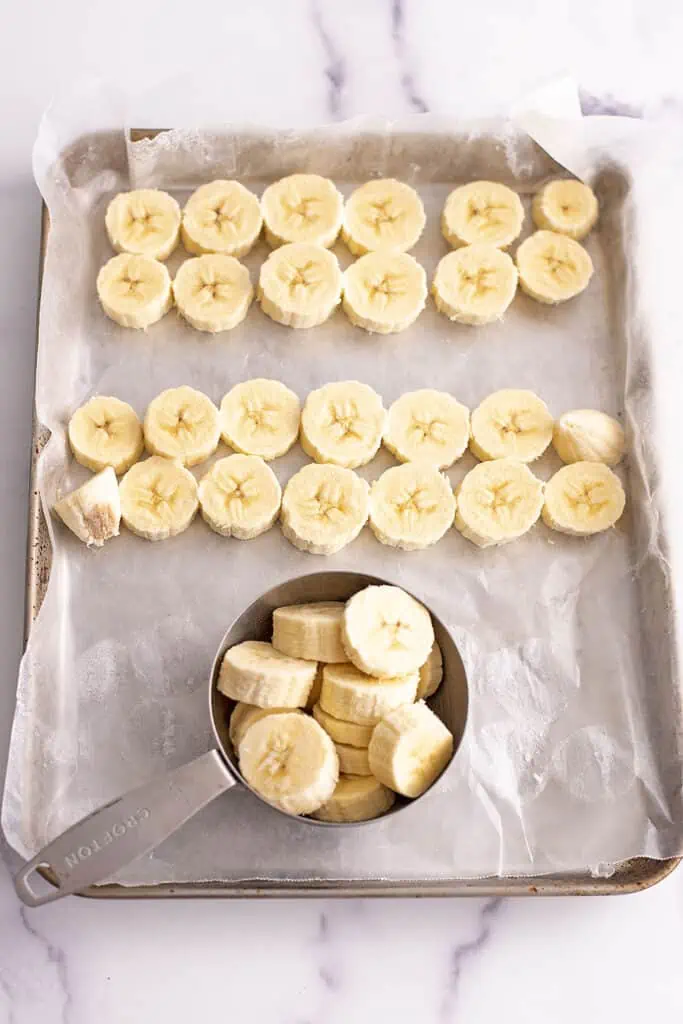
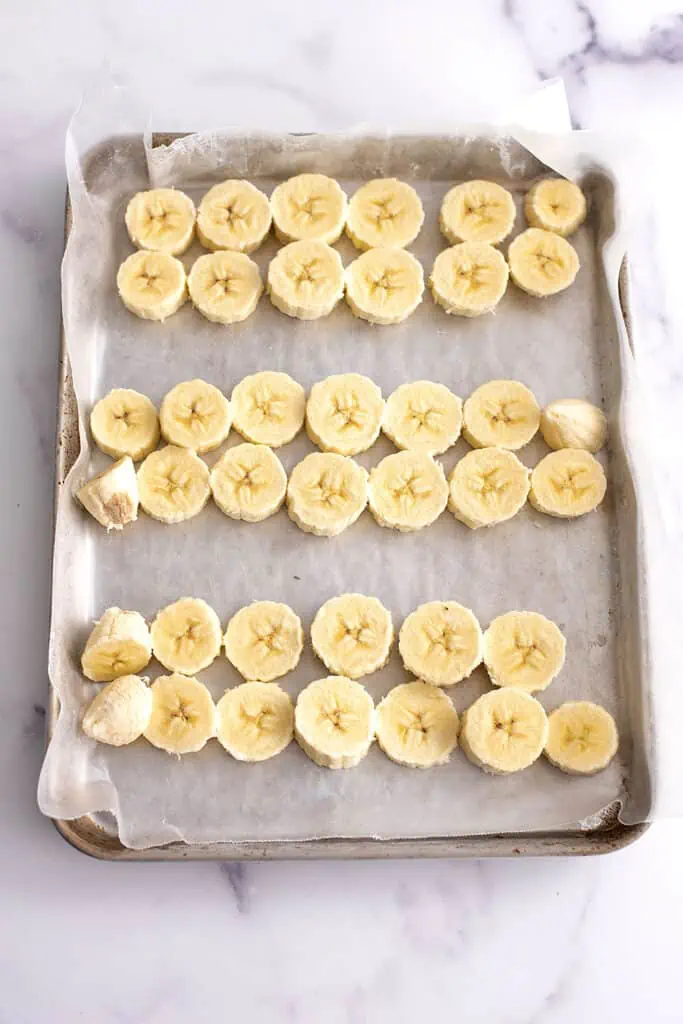
Bananas are so easy to freeze. It’s important that you peel the banana (it’s almost impossible to get the peel off easily once frozen). I also think it’s a great practice to slice the banana into coins so that it’s easy to blend in the smoothie once frozen. These frozen banana coins are also great coated in chocolate and enjoyed as a fun treat!
- Once the banana has been sliced, place it on a lined baking sheet and put it in the freezer. Freeze for 4-8 hours or until frozen through.
- Once frozen, transfer the frozen banana coins to a freezer safe bag or container for up to 1 month. I find that bananas start to break down in the freezer after about 1 month, so find ways to use them quickly once you have them frozen.
Note: 1 medium banana equals just under 1 cup of frozen banana packed lightly.
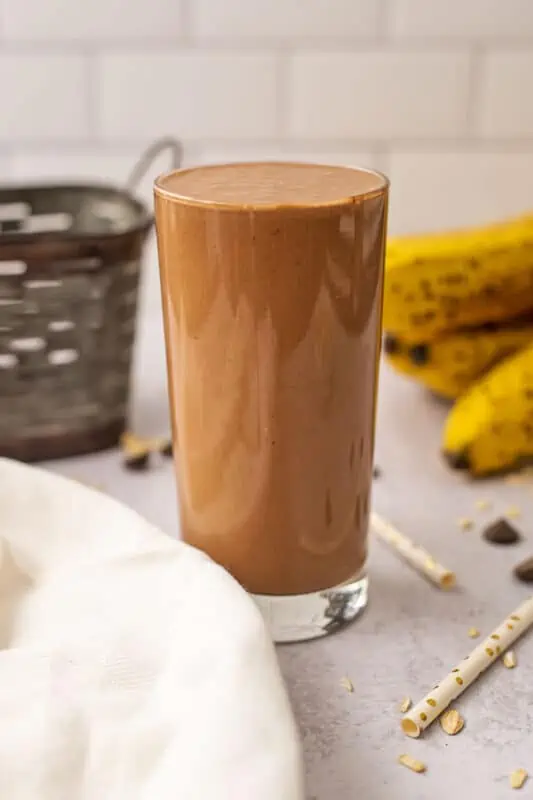
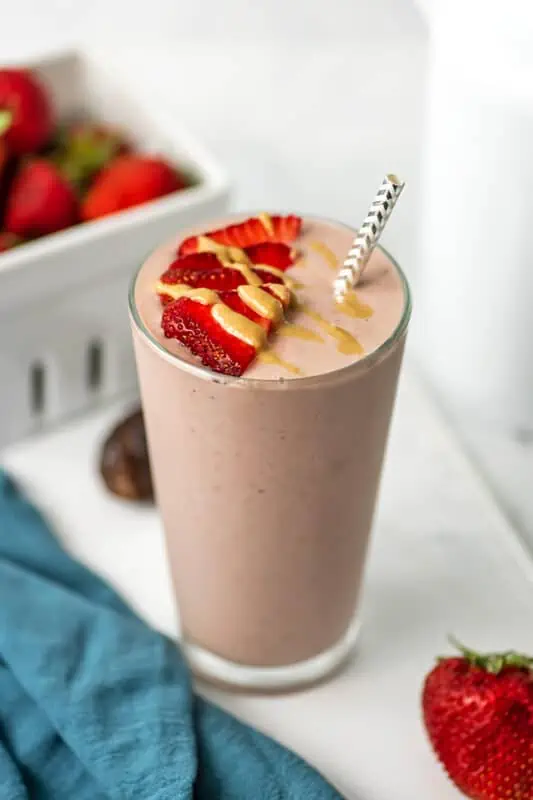
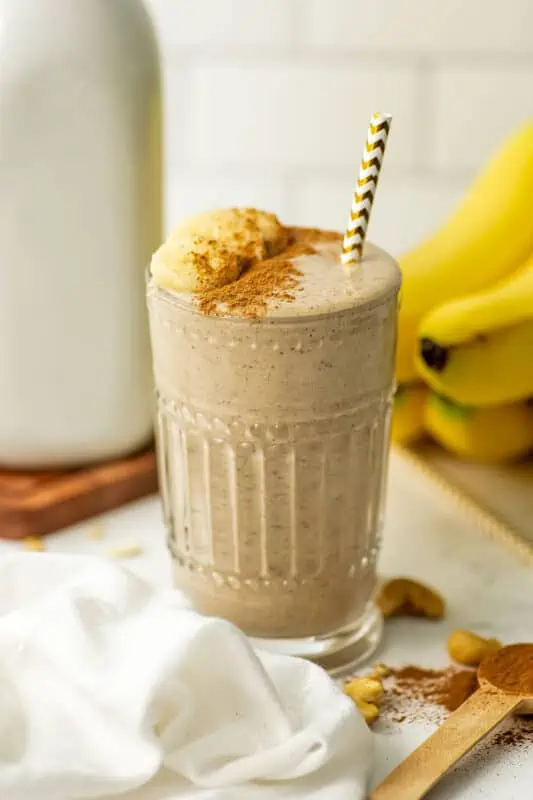
Some of my favorite banana smoothies are strawberry banana chocolate smoothies or banana mango kiwi smoothies.
Freezing berries for smoothies
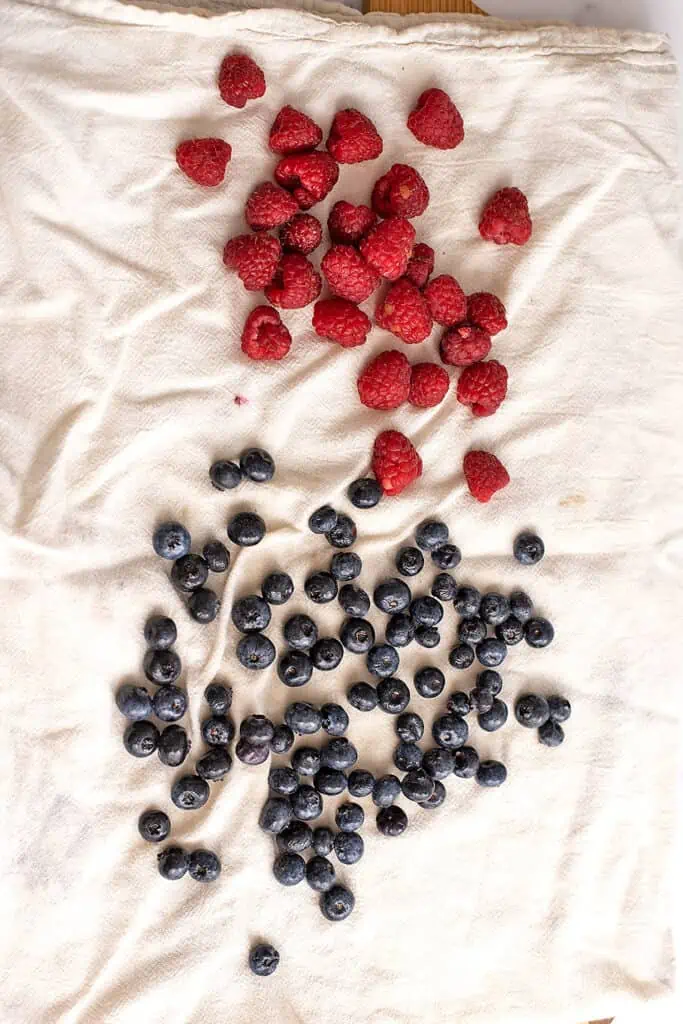
- Start by washing the berries (strawberries, blueberries, raspberries, blackberries). I like to use a mixture of 1-2 tablespoons of apple cider vinegar in 3-4 cups of water. Let the berries soak for about 5 minutes then rinse with clean water. Allow the berries to dry off on a clean kitchen towel before freezing.
- Once clean and dry, cut away the stem and any leaves that are attached. For strawberries, you will want to hull them of the green leaves on top before freezing.
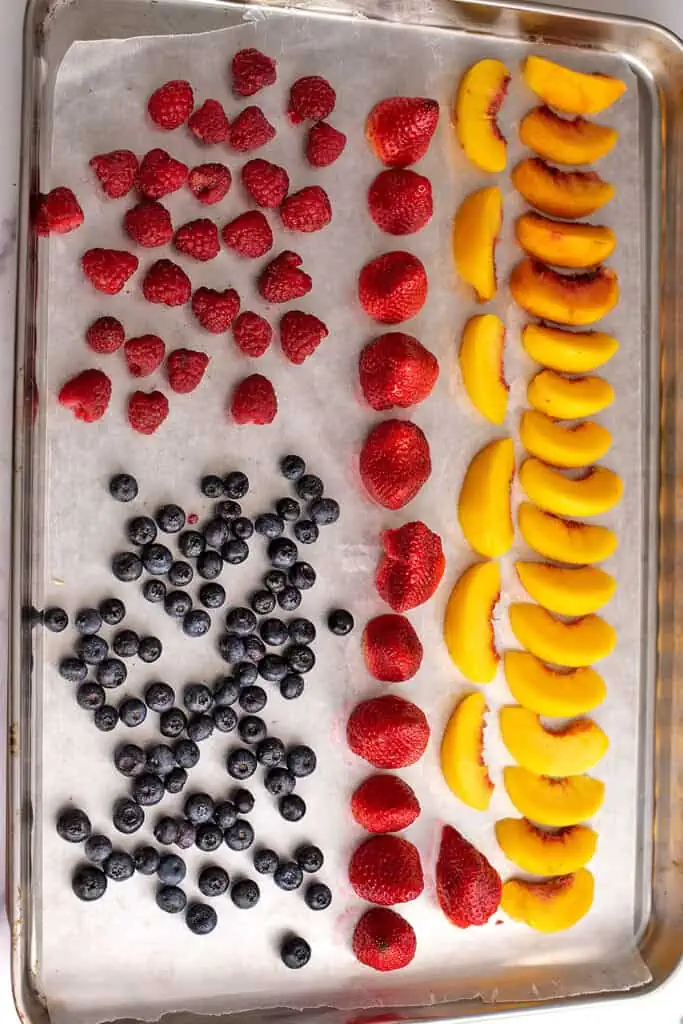
- Place the berries flat on a lined baking sheet. Freeze until solid (4-8+ hours).
- Once frozen, transfer the frozen berries to a freezer safe bag or container. Frozen berries last at least 6 months in the freezer.


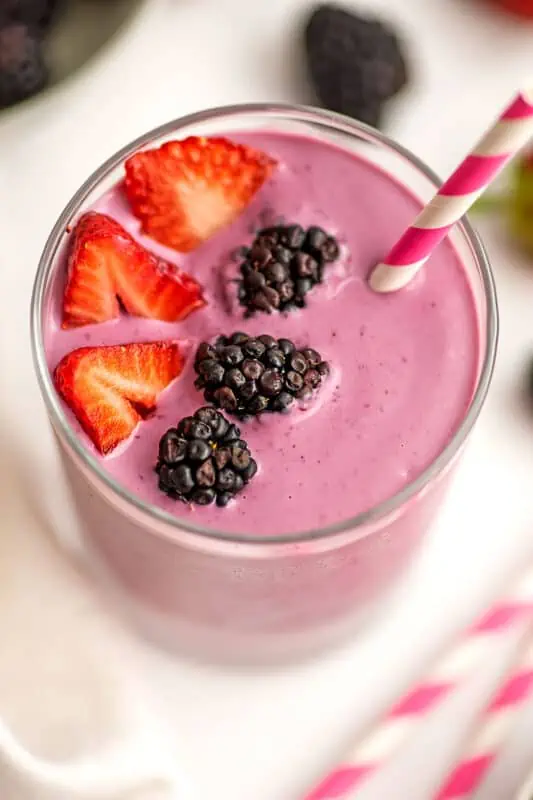
Some of my favorite recipes using frozen berries are blackberry oatmeal smoothie and raspberry blackberry smoothie.
How to freeze cherries for smoothies
- Cherries need to be washed and pitted before freezing. Wash and dry the cherries on a clean towel.
- Once dry, cut the cherries in half, remove the pit and place on a lined baking sheet. .
- Once the cherries are frozen (4-8+ hours in the freezer), transfer to a freezer safe bag or container then store for at least 3 months (up to 6 months).
Note: if you are going to be freezing a lot of cherries at once, you may want to invest in a cherry pitter to make this process faster and easier. You can freeze whole pitted cherries.
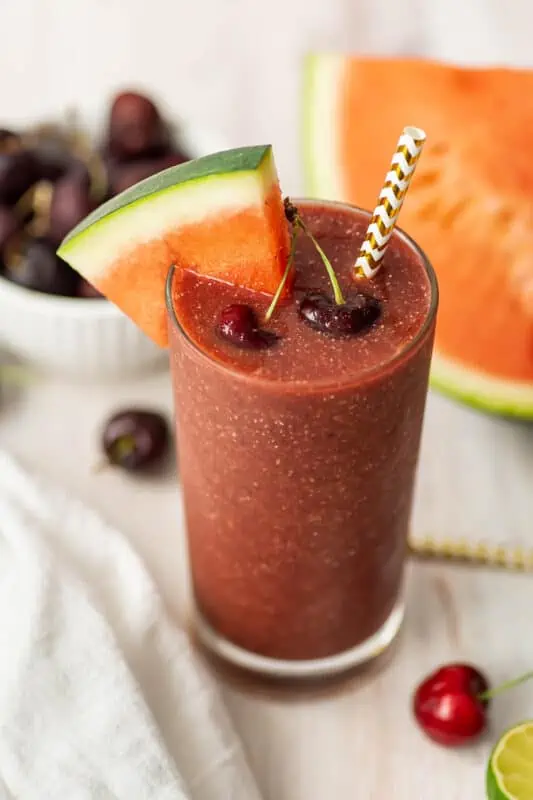
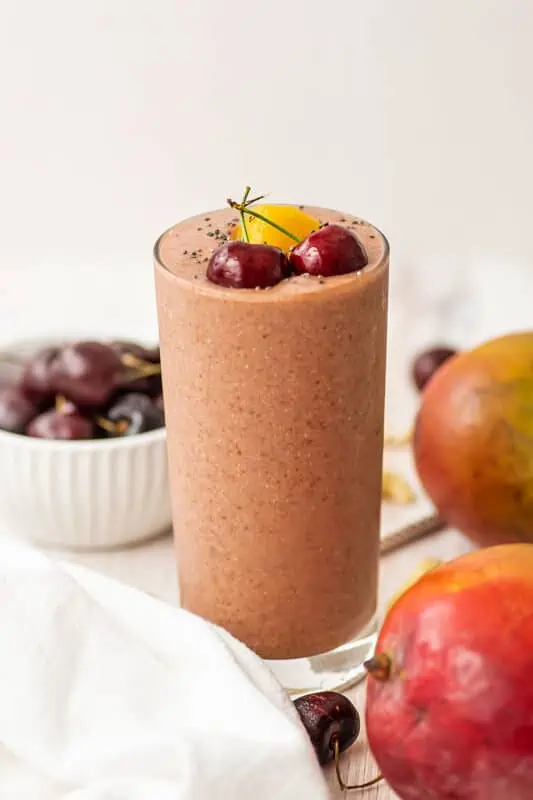
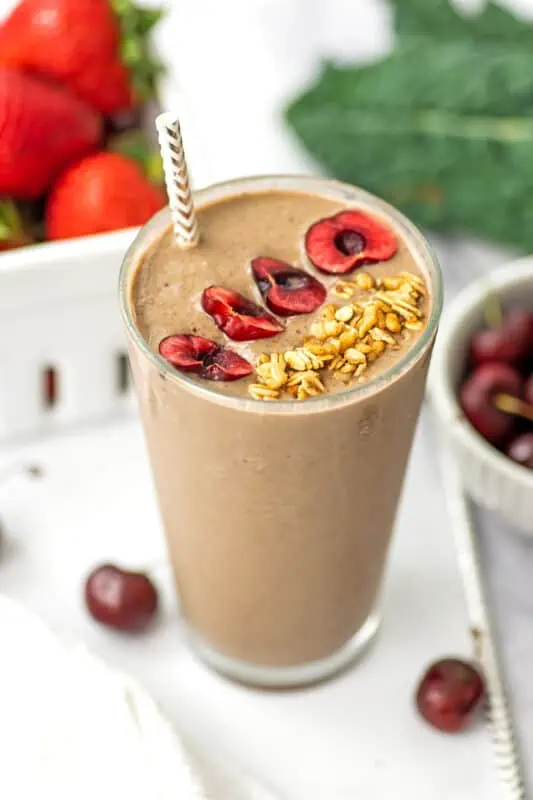
Some of my favorite cherry recipes are cherry strawberry smoothies and mango cherry smoothie.
How to freeze fresh peaches for smoothies
Freezing stone fruit (such as peaches, nectarines and plums) can be a little more difficult since you want to remove the pits and remove the skin if needed to ensure your smoothie has the best texture. Thin skinned nectarines and plums don’t need the skin removed but thicker skinned peaches may need the skin removed (this is up to you).
To remove the pit and skin from stone fruit:
- To remove the pit, cut the stone fruit in half then pop out the pit with a fork or dull butter knife (carefully). Sometimes you will need to cut around the pit with a shaper knife if you cannot get the pit out easily.
- Peel the skin by using a dull butter knife and lifting the skin off by grabbing the skin with your thumb over the knife and pulling the skin away from the fruit.
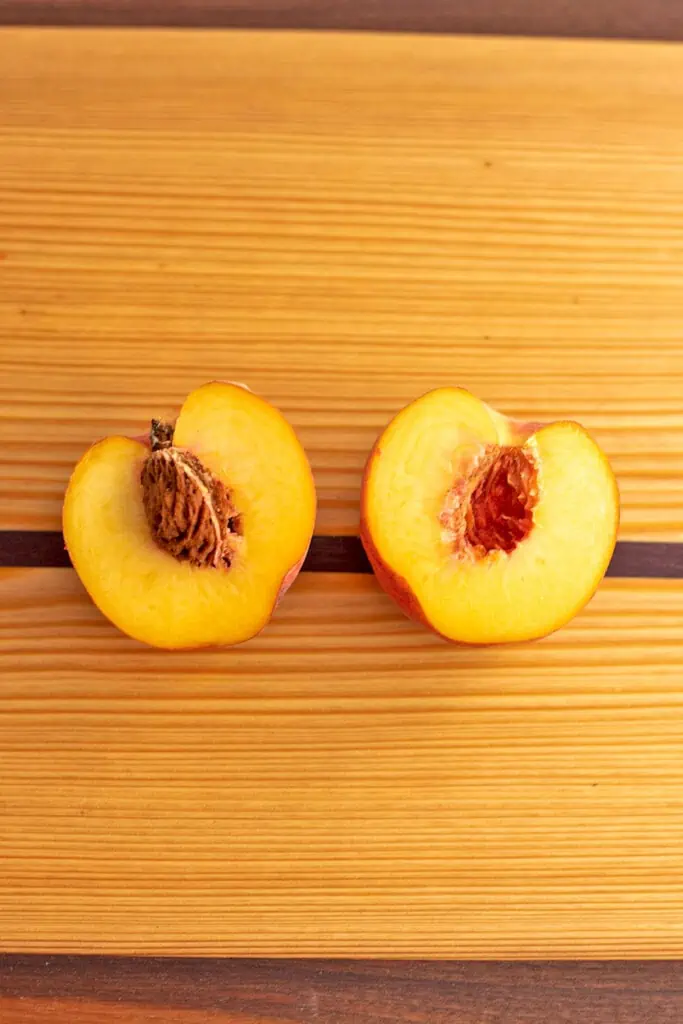
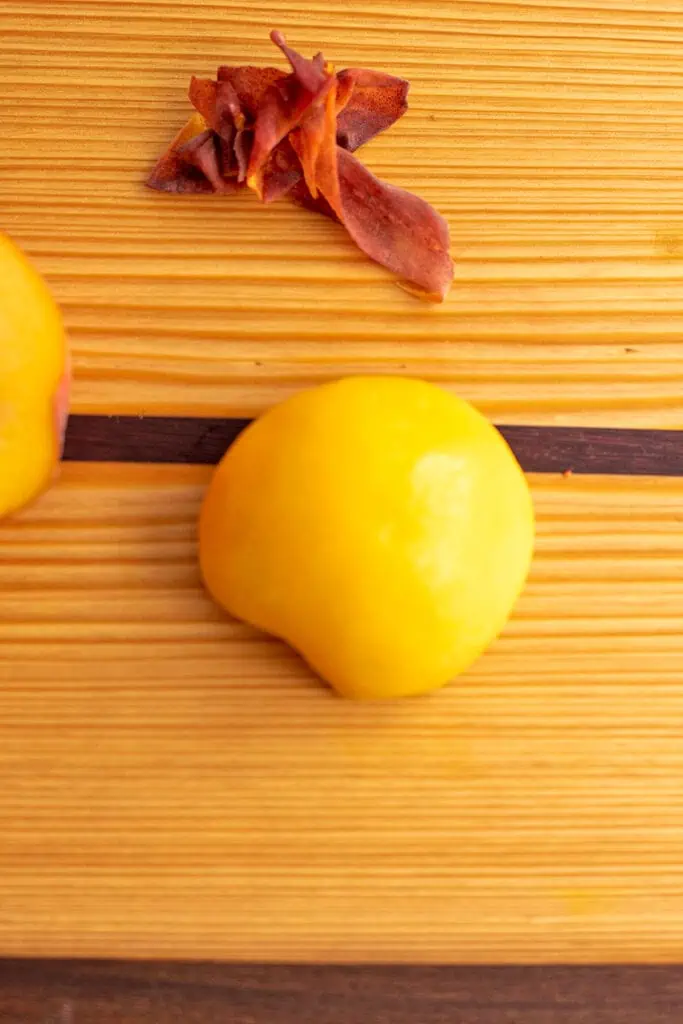
Alternatively, if you know that you will be freezing a large batch of stone fruit (especially peaches that can be harder to peel), I have found the best way to peel peaches is by using the boiling method to remove the skin from peaches or other stone fruit. To do this follow the directions below:
- Cut a small X in the bottom of the peach.
- Bring water to a boil and submerge the peach for 30 seconds.
- Remove from the water and put the peaches in a ice bath (a bowl filled with ice and water).
- Once cooled, the skin should be very easy to remove with a butter knife.
- After the peach is peeled, you can remove the pit.
Once peeled and the pit is remove slice and freeze:
- Slice the fruit into about 1 inch slices then place them flat on a lined baking sheet.
- Freeze until solid (about 8 hours) then transfer to a freezer safe bag or container.
- You can freeze peaches for at least 3 months (up to 6 months) to use in your smoothies.
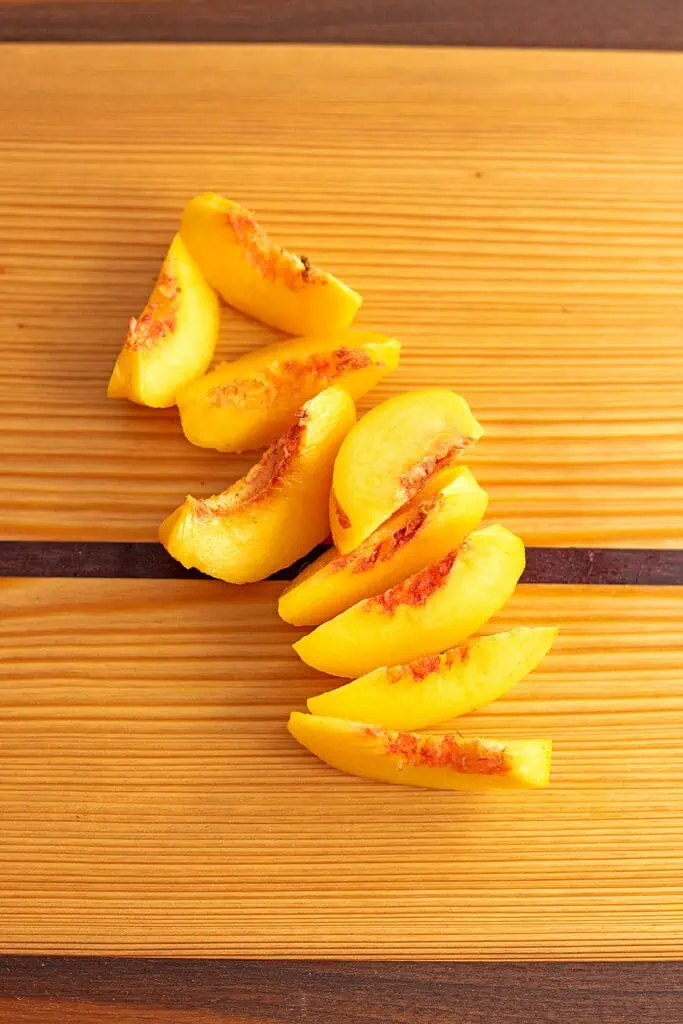

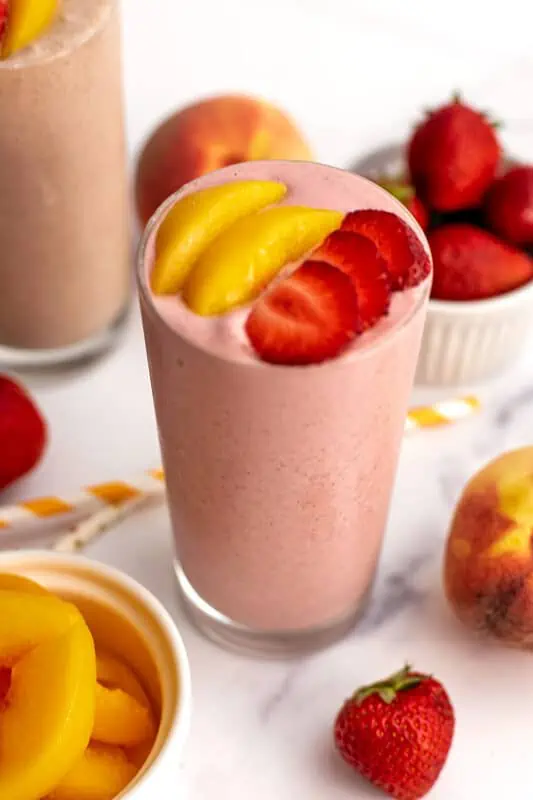
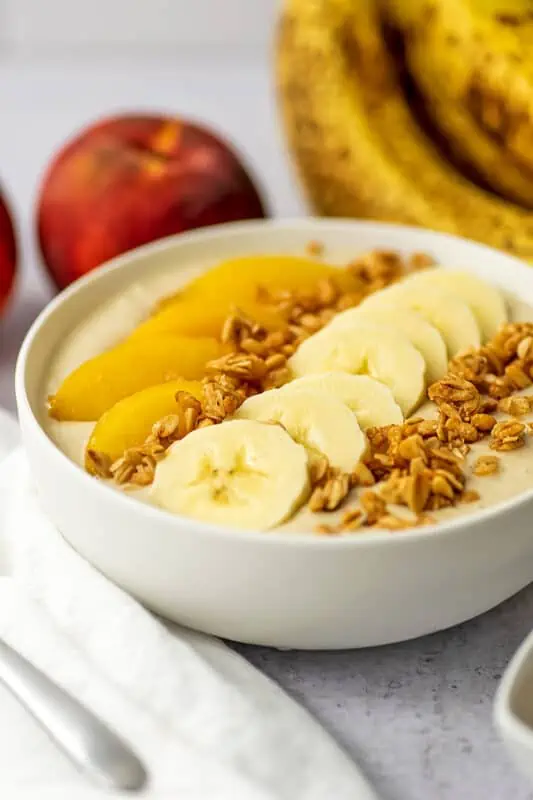
Some of my favorite recipes that use frozen peaches are strawberry peach smoothie bowls and peach banana smoothie bowls.
How to freeze pineapple for smoothies
Pineapple is so easy to freeze and it retains its sweetness after freezing. Freezing pineapple really helps to make a creamy smoothie when blended up.
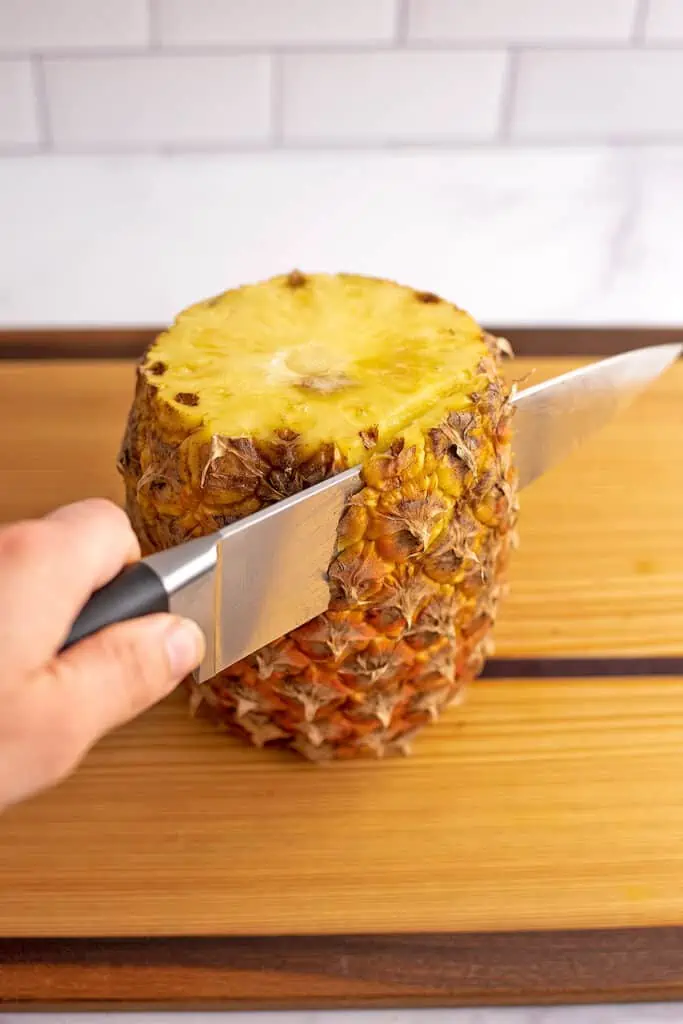
- Start by removing the skin, leaves and bottom from the pineapple. I like to cut the top and bottom of the pineapple first, then stand it up and cut the skin off from the top to the bottom (but feel free to remove the skin however you like).
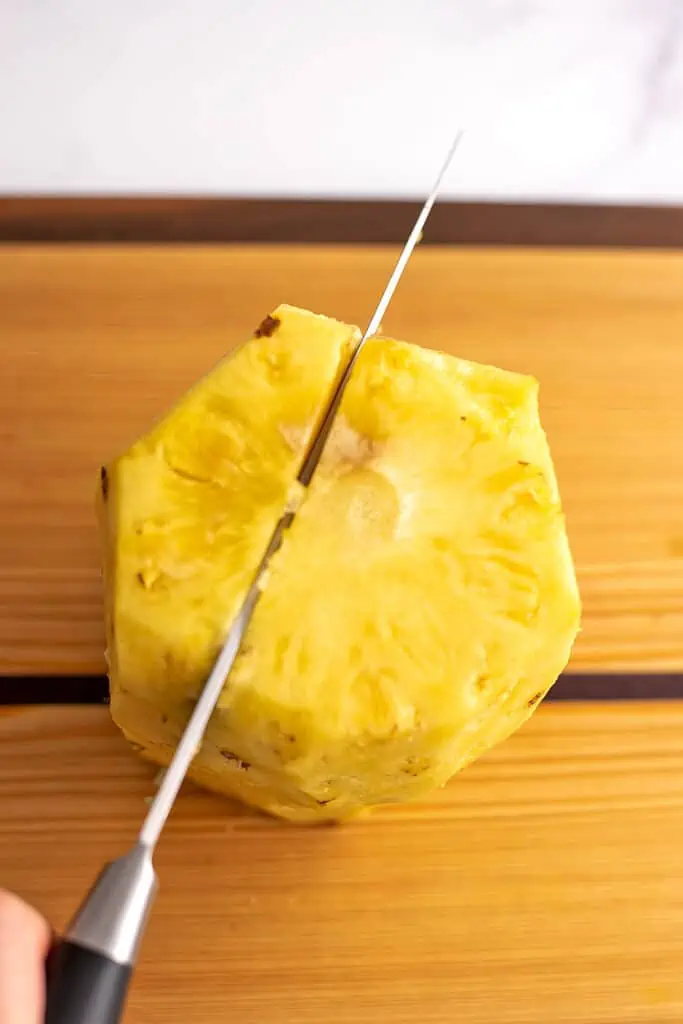
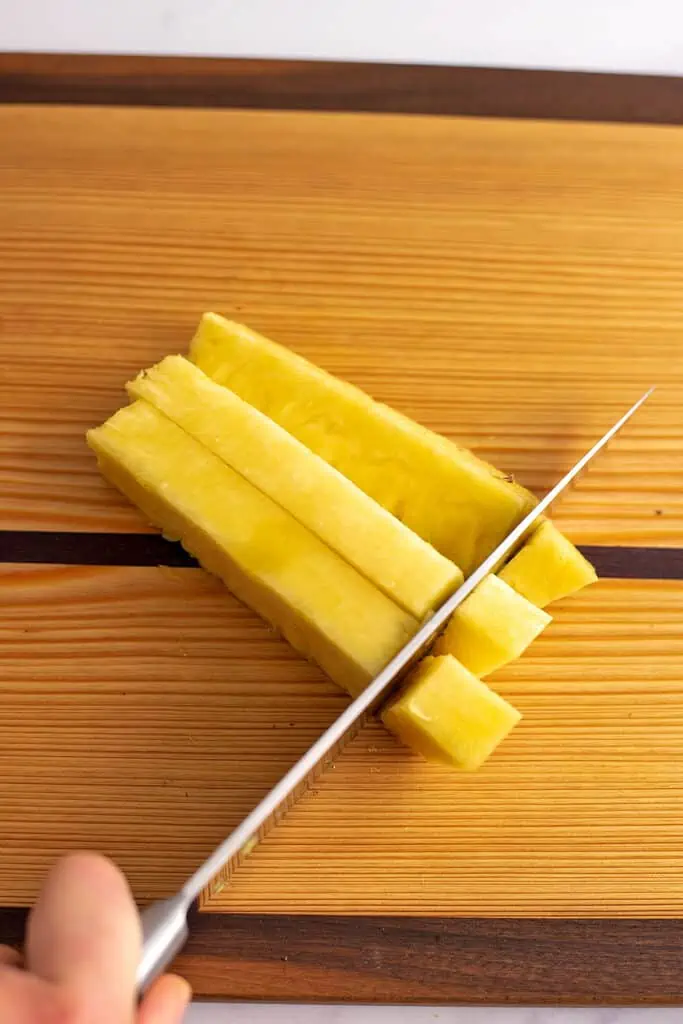
- Cut the pineapple into slices then cut out the center core (which is tough and fibrous and can make your smoothies gritty). I typically just cut the pineapple away from the core in slices then cut those slices into bite size cubes.
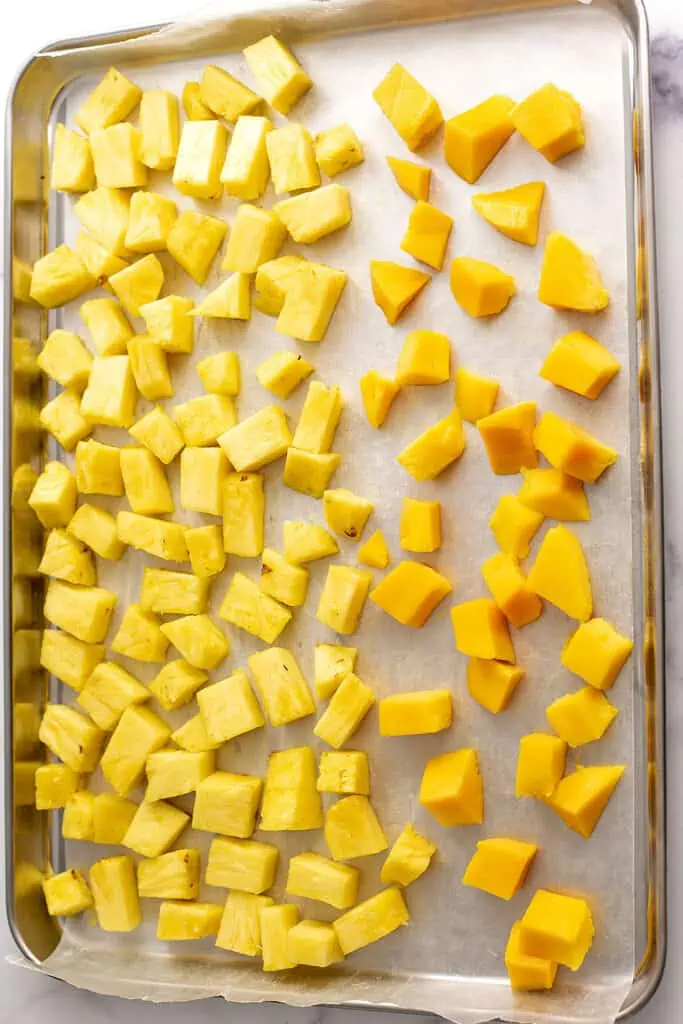
- Once the pineapple has been cut into more manageable pieces (without the core), you can place it on a lined baking sheet and freeze until solid (8+ hours).
- After the pineapple is frozen solid, transfer to a freeze safe bag or container for at least 3 months (up to 6 months).
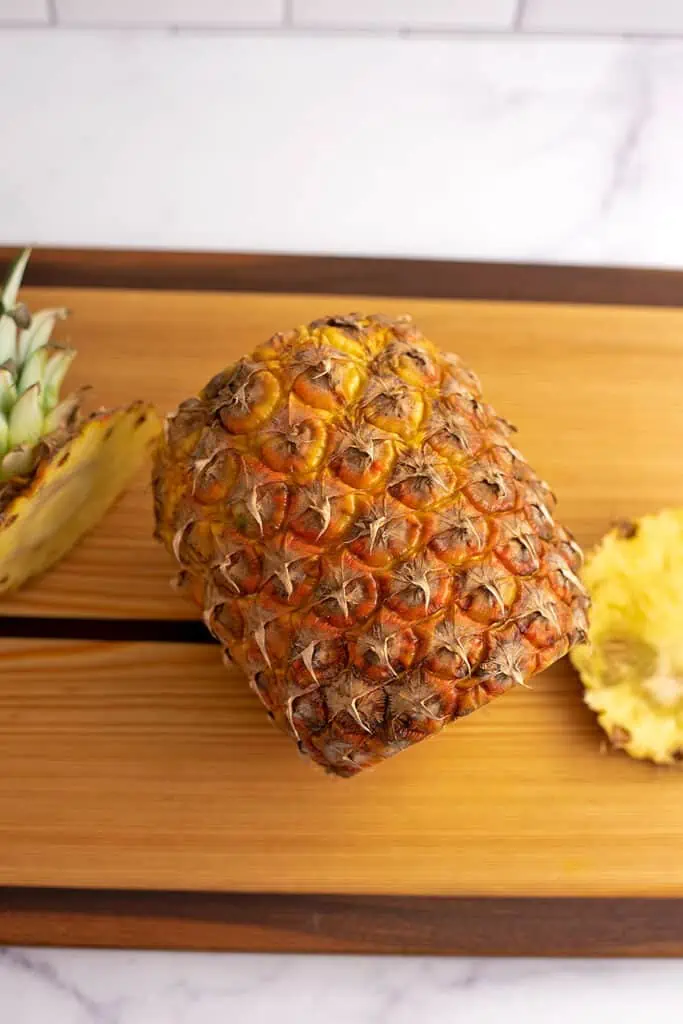
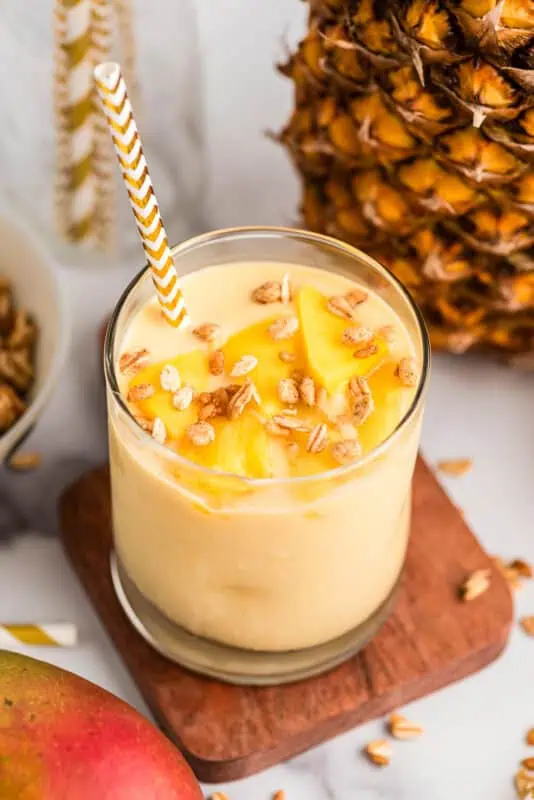
Some of my favorite recipes to use frozen pineapple in are pineapple blueberry smoothie and peach pineapple smoothie.
How to freeze mango for smoothies
Mangos are so sweet and perfect for smoothies. There are a few times a year where you may find mangos on sale for an exceptional price. If so, buy extra and freeze them for later! Freezing mango isn’t too hard once you know how to cut a mango.
Mangos can be intimating, since they have inedible skin and also a large pit running right through the center. But once you master cutting a mango, you will be able to easily do this over and over again.
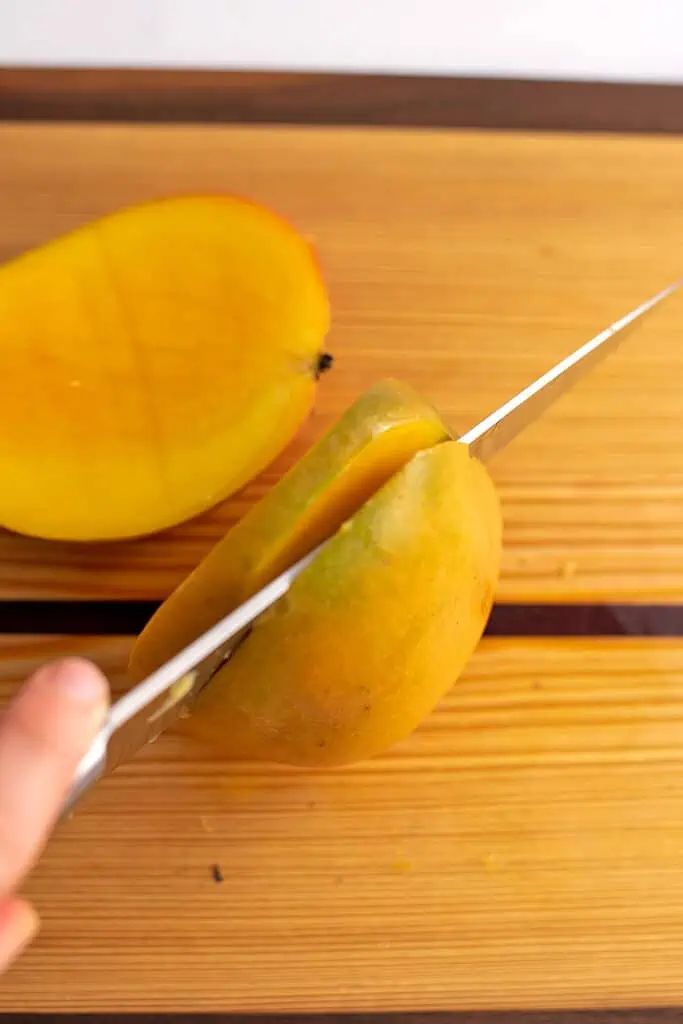
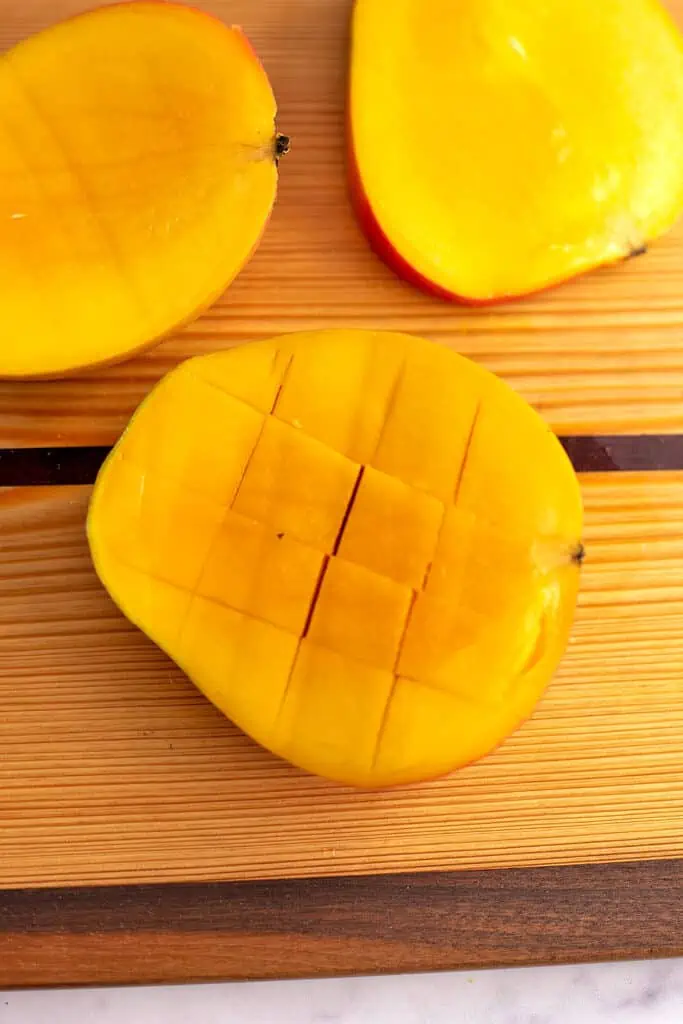
- Start by standing the mango up on your cutting board, with the stem facing up. Slice off one side, trying to get as close to the large seed in the center as possible. Then cut off the other side again trying to stay as close to the seed as possible (these two sections are sometimes called the “cheeks” of the fruit).
- Next take your knife and carefully cut into the flesh of the mango in a cross hatch pattern (try not to cut through the skin). Then use a spoon and spoon out the chunks from away from the skin. This will give you perfect mango chunks.
- If you notice there is still a lot of mango left on the seed, you can peel away the skin with your knife then cut away as much of the flesh from the seed as possible.
- Once the mango is all cut up into manageable pieces, transfer it to a lined baking sheet and freeze until solid (8+ hours). Once frozen transfer to a freezer safe bag or container.
- Frozen mango can be stored for up to 3 months.

One of my favorite frozen mango smoothie recipes is mango blackberry smoothie.
How to make smoothie packs with frozen fruit
Frozen fruit is great for make ahead smoothies or creating smoothie packs so during hectic mornings you don’t even need to measure just simply pour the smoothie pack into the blender, add milk and blend. Learn more on how to meal prep smoothies.
How to make smoothies with frozen fruit
Now that you have your fruit frozen let’s put it into action by making a smoothie with it. Start by:
- Measure out the fruit into the blender along with the liquid (dairy free milk, milk, coconut water, water, kefir) and any other ingredients (like protein powder, chia seeds, vegetables, etc.)
- Blend until smooth.
- Taste for sweetness and add any optional sweeteners if needed (honey, maple syrup, pitted medjool dates).
How to make smoothie bowls with frozen fruit
Smoothie bowls really need to be made with frozen fruits, fresh fruit will not create that thick, creamy consistency that is needed for a smoothie bowl. To make a smoothie bowl start by:
- Add the frozen fruit, mix in ingredients and liquid of choice to the blender or food processor.
- Blend until smooth. You may need to pause and scrape down the sides or help break up some pieces of fruit since you are using less liquid than a smoothie.
- Once everything is smooth, pour it into a bowl and add your favorite toppings.

