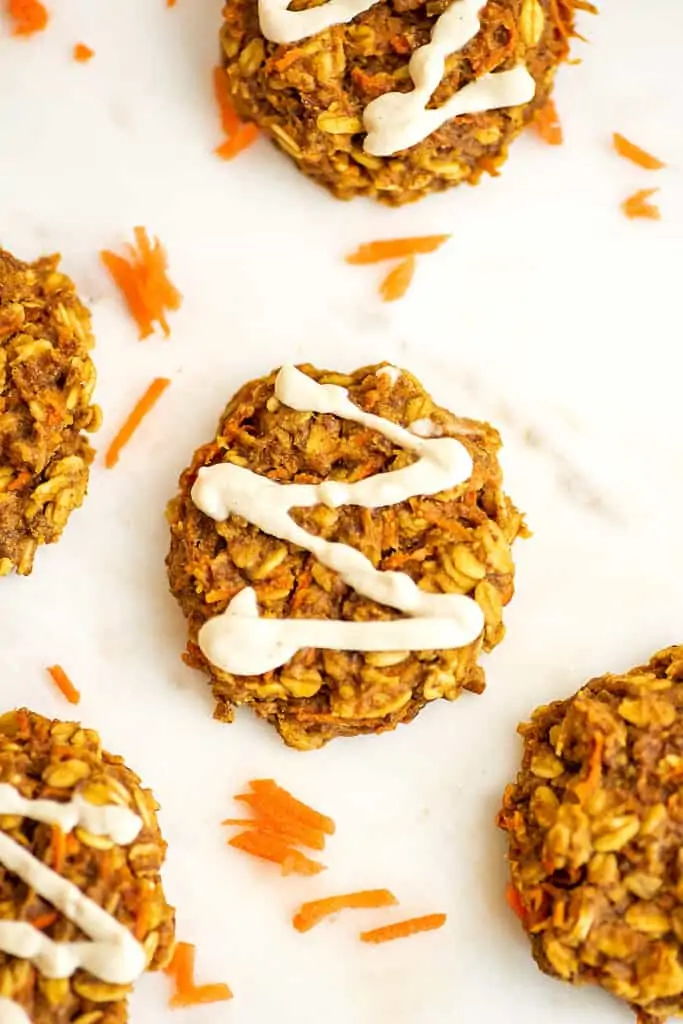
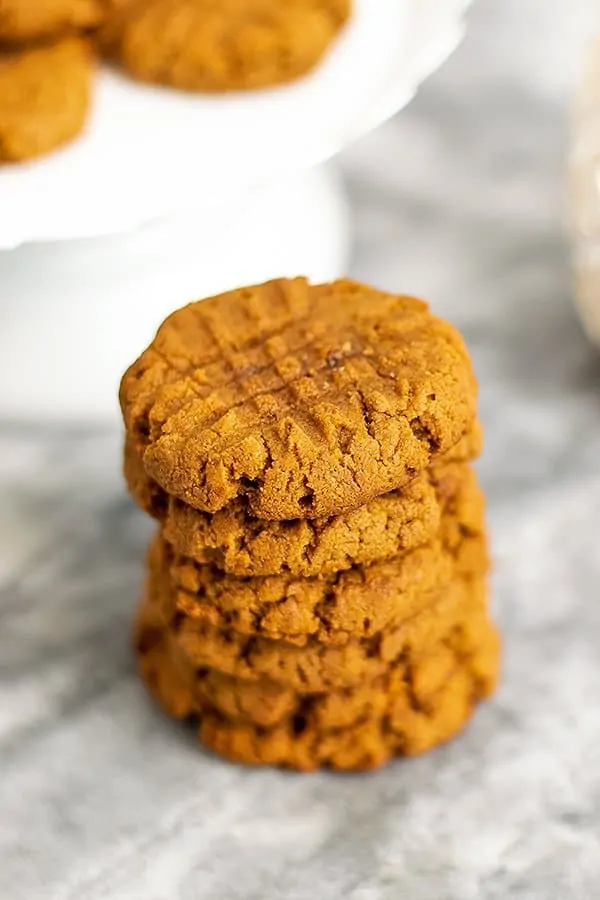
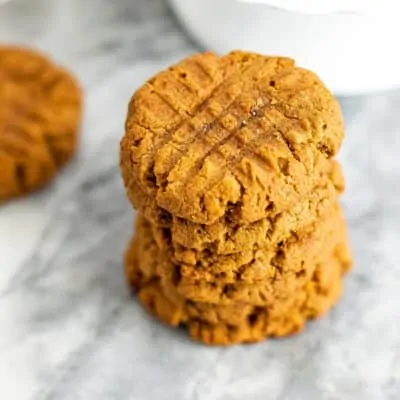
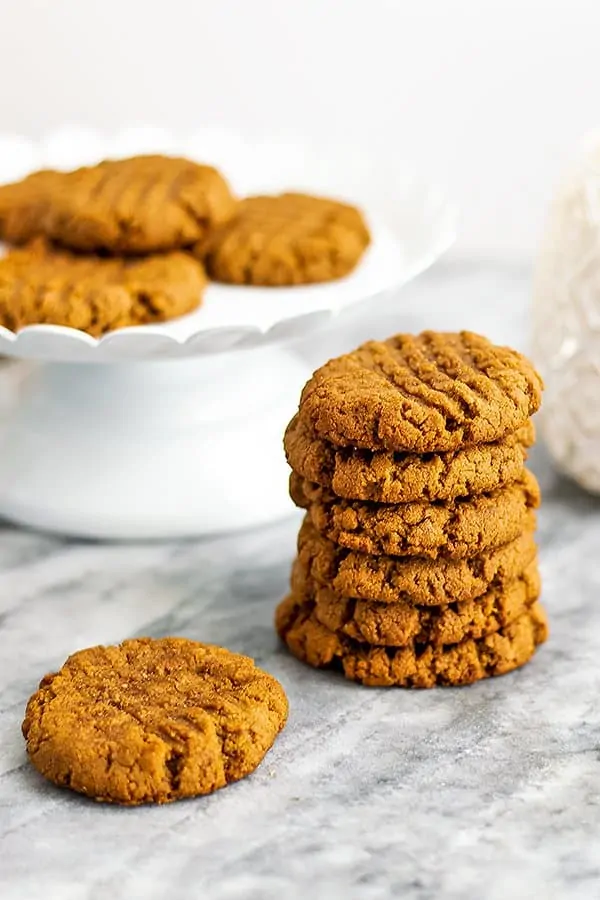
High Protein Peanut Butter Cookies
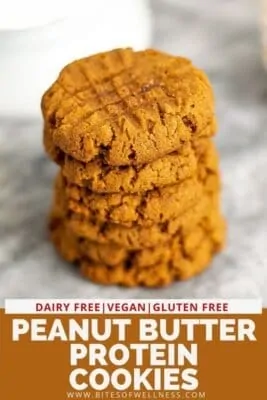
If you’ve been craving a soft, chewy peanut butter cookie that’s secretly packed with protein, these vegan peanut butter protein cookies are for you. They’re quick to make in just one bowl, require simple pantry ingredients, and are perfect for satisfying that peanut butter cookie craving. Whether you enjoy them as a snack, post-workout bite, or a fun dessert, these high protein peanut butter cookies will quickly become a staple in your kitchen.
I grew up baking peanut butter cookies with my mom, always with the little chocolate kiss on top during the holidays, so I had high standards when I set out to create a peanut butter cookie with protein powder. It took some testing to balance the protein powder with the right texture, but once I added applesauce to the mix, the cookies turned out chewy and delicious every time. Family and friends (even those who didn’t know they were vegan or high protein) loved them, which gave me confidence that this recipe is one worth sharing.
If you love peanut butter cookies as much as I do, you’re going to want to keep this recipe on repeat. These easy peanut butter protein cookies are just the start—be sure to also try my Air Fryer Peanut Butter Cookies, Chickpea Peanut Butter Cookies, or these Almond Flour Peanut Butter Cookies for even more delicious ways to enjoy that classic peanut butter flavor.
Ingredient spotlight
This is not the entire list of ingredients, but a few ingredients I think are worth noting.
- Peanut butter – you want to use natural peanut butter (just peanuts or peanuts and salt) for the best consistency.
- Maple syrup – maple syrup is used to sweeten the cookies naturally. You could also use brown rice syrup, honey (not vegan) or date syrup in place of the maple syrup.
- Protein powder (vegan) – plant based protein powder replaces some of the flour in traditional peanut butter cookie recipes. I recommend using a vanilla protein powder.
Step by step instructions

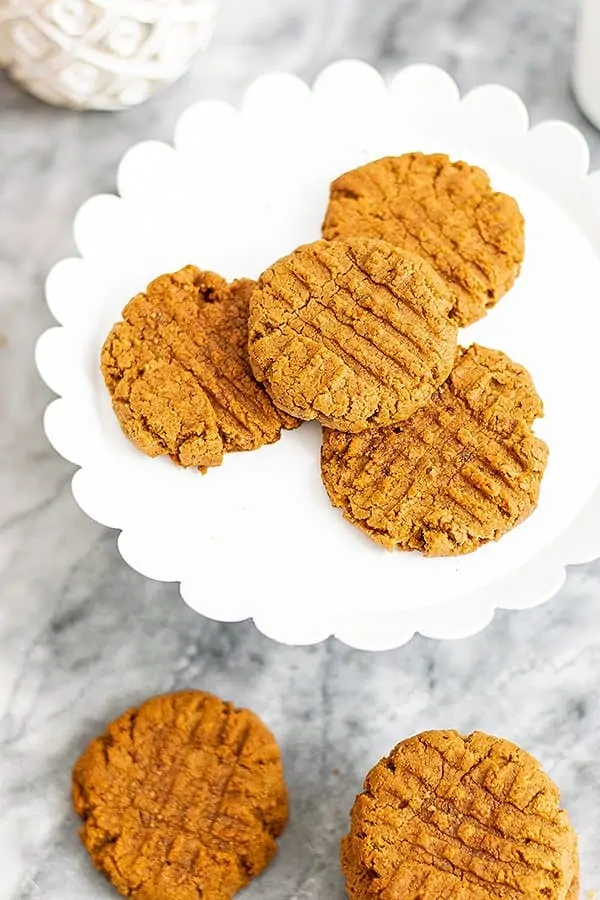
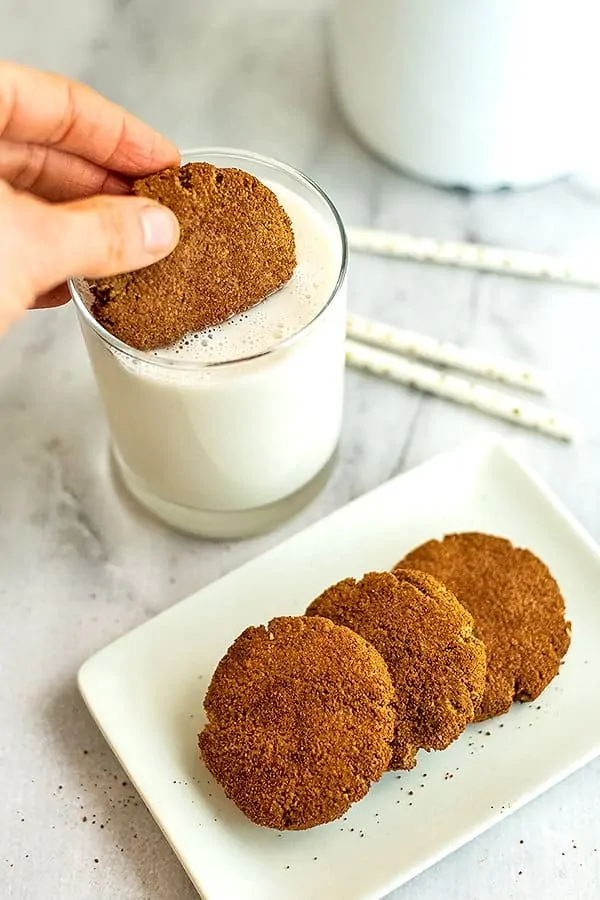
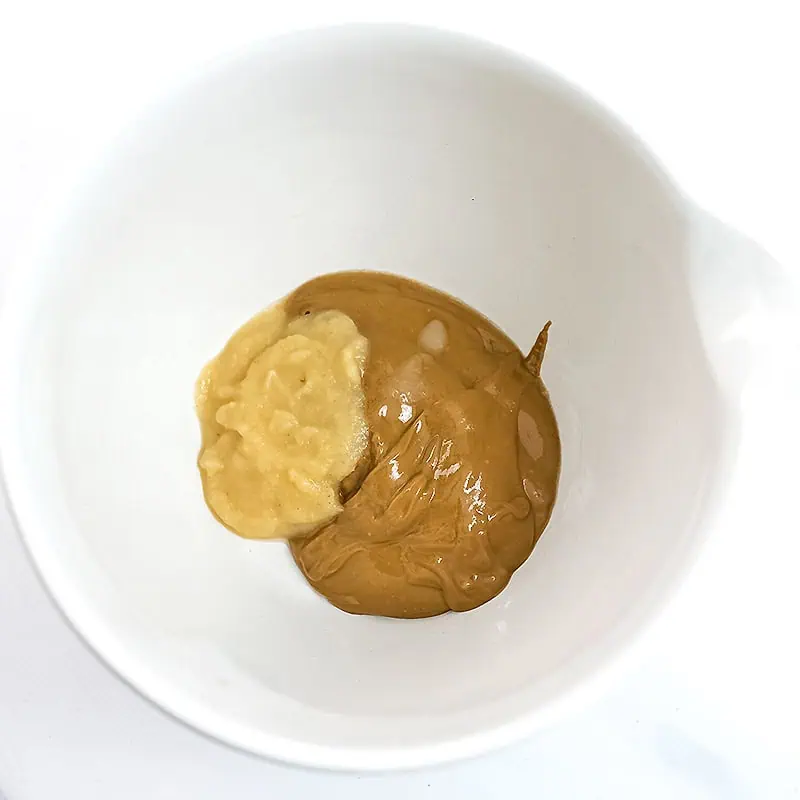
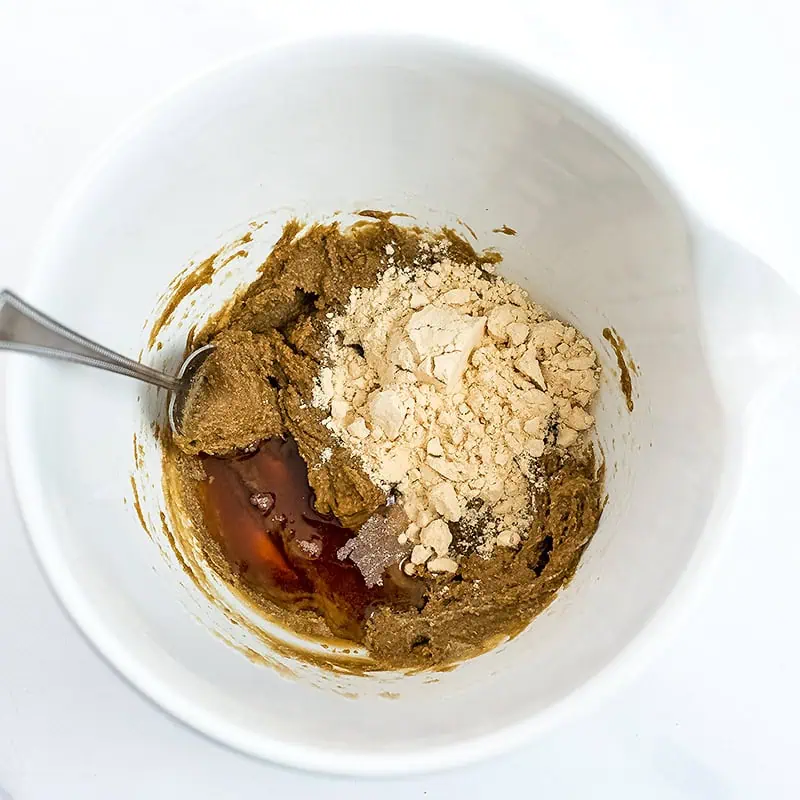
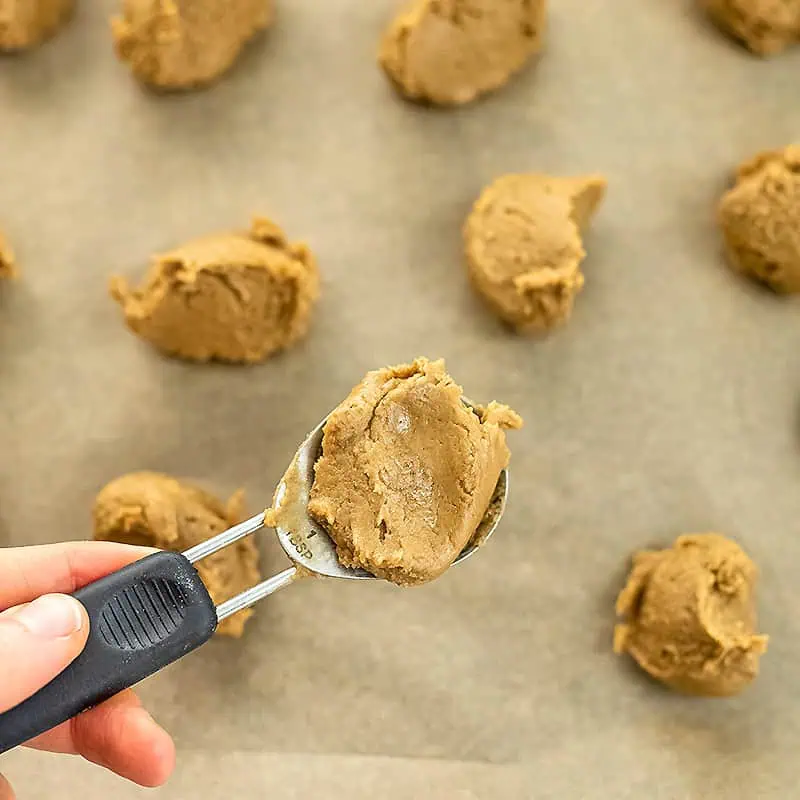
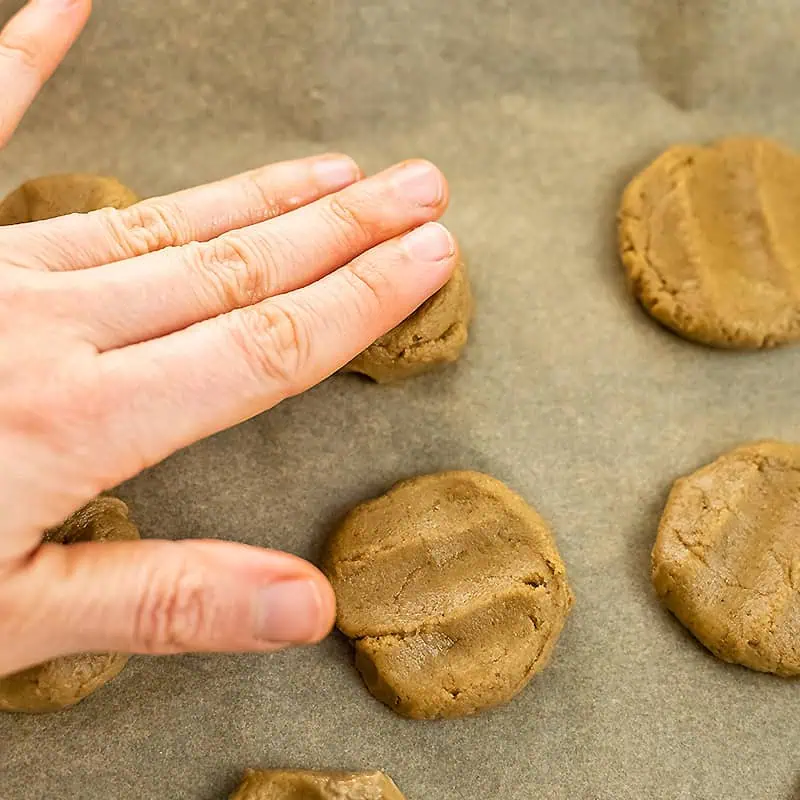
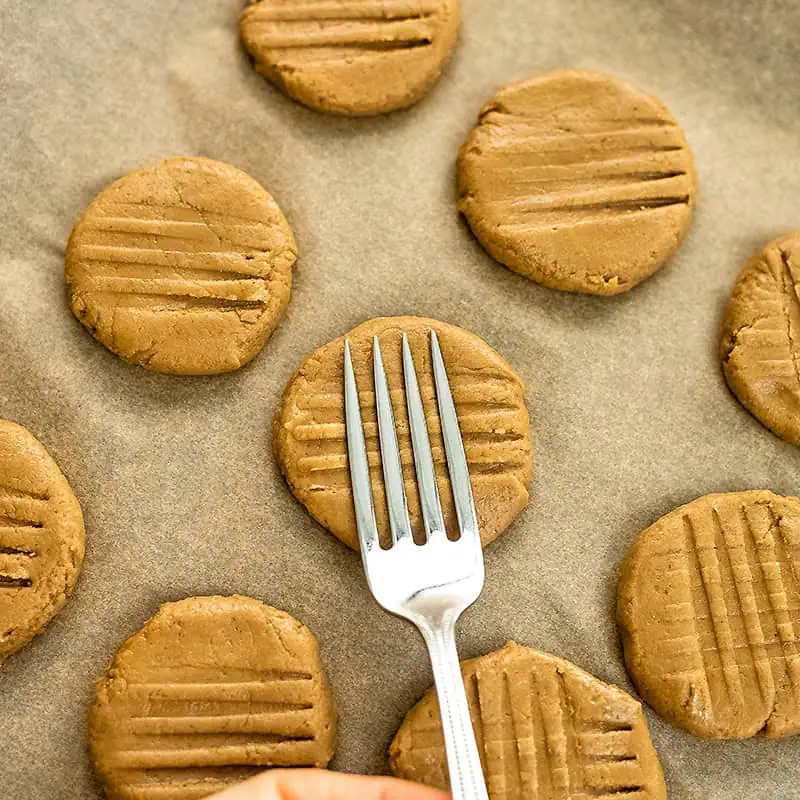
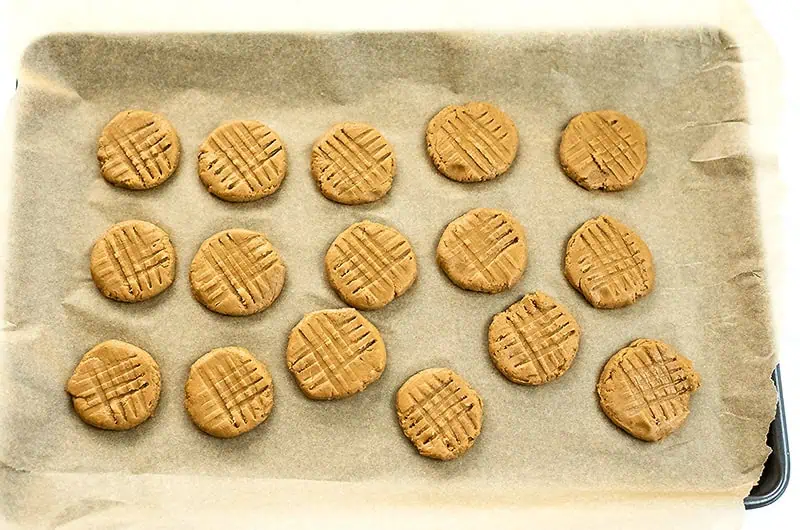
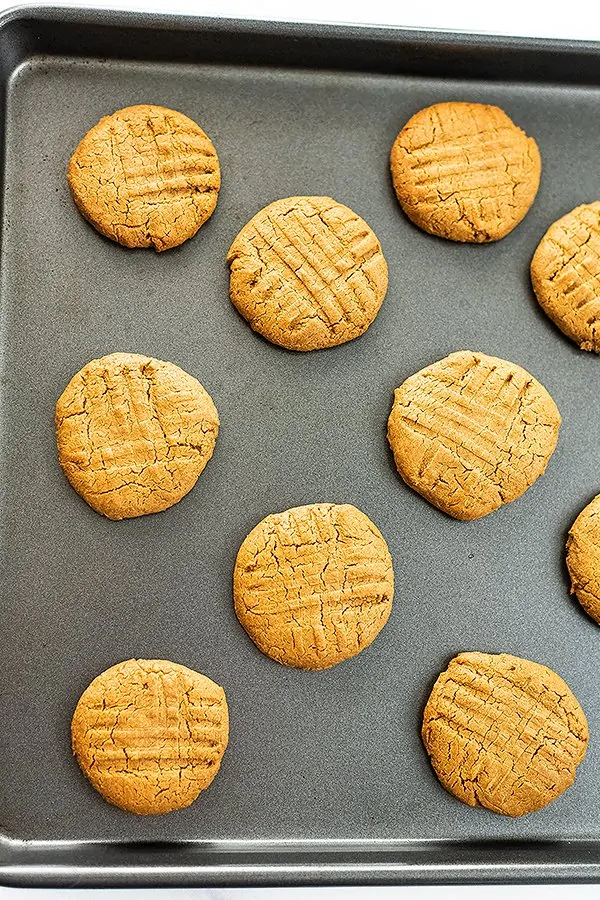
In a bowl combine the peanut butter and apple sauce. Stir well. Add maple syrup, protein powder, gluten free flour and baking powder to the peanut butter. Stir until well combined. Use a tablespoon to measure out each cookie onto a parchment paper lined baking sheet. Press the cookies down with your fingers. These will not spread on their own. Optional: Use a fork to create a cross hatch pattern on the cookies. 
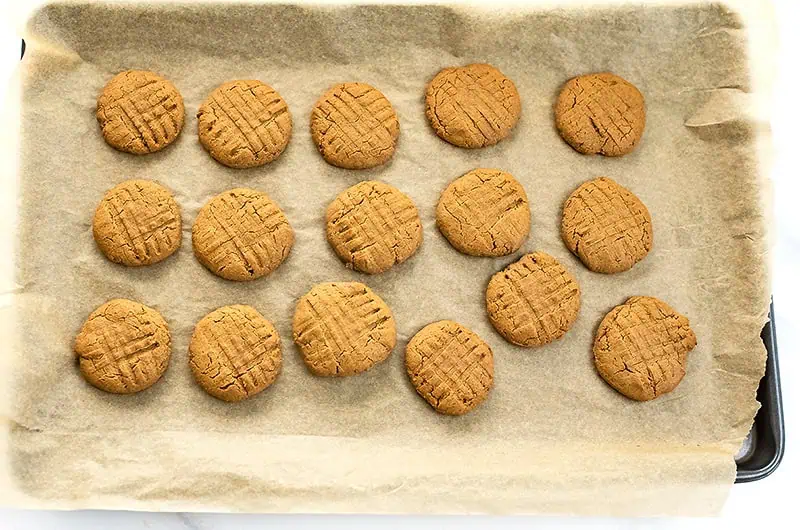
Bake at 350F for 12-15 minutes (12 minute for thinner cookies, 15 minutes for thicker cookies). Allow the cookies to cool before removing them from the baking sheet.
Tips for success
- Oily dough is normal: If your dough looks oily when rolling, that’s from using natural “drippy” peanut butter. The oil will reabsorb as the cookies bake.
- Make ahead option: You can prepare the dough in advance and store it in the fridge for up to 2 days before baking.
Peanut Butter Protein Cookies (Egg Free)
Ingredients
- ¾ cup natural peanut butter
- ⅓ cup unsweetened applesauce
- 3 tablespoons maple syrup
- 1 serving vanilla vegan protein powder
- 2 tablespoons gluten free flour
- 1 teaspoon baking powder
Instructions
- Preheat oven to 350F.
- Mix together the peanut butter and apple sauce.¾ cup natural peanut butter, ⅓ cup unsweetened applesauce
- To the peanut butter mixture, add the maple syrup and protein powder and mix well.3 tablespoons maple syrup, 1 serving vanilla vegan protein powder
- Add the gluten free flour and baking powder and stir well, the batter will be thick.2 tablespoons gluten free flour, 1 teaspoon baking powder
- Place parchment paper on a baking sheet.
- Using a tablespoon, portion out 1 cookie and roll it in your hands. Place on parchment paper and repeat with rest of the dough.
- Use your middle three fingers to press down on the top of each cookie to start flattening out the round ball of dough.
- Use a fork and create the hatch like markings by pressing it into the cookies and then turning it 90 degrees and pressing again.
- Bake at 350F for 12-15 minutes (12 minutes for thinner cookies, 15 for thicker cookies).
- Take out of the oven and allow to cool at least 5 minutes.
Recipe Notes
- Check dough consistency: Dough should be thick but easy to stir. If it’s too dry (depends on your protein powder or peanut butter), add 1–2 tablespoons of applesauce.
- Flatten before baking: Press dough balls down with your fingers or a fork so they bake evenly and don’t end up over- or undercooked.
- Counter: Store on the countertop in an airtight container 2-3 days.
- Fridge: Store in the fridge in an airtight container up to 7 days. Fridge is best!
- Freezer: Freeze for up to 3 months. Allow cookies to cool completely before freezing on a wax paper lined tray until frozen solid (2-3 hour). Once frozen, cookies can be added to a freezer safe bag and stored up to 3 months.
Nutrition Information
Mix-in ideas
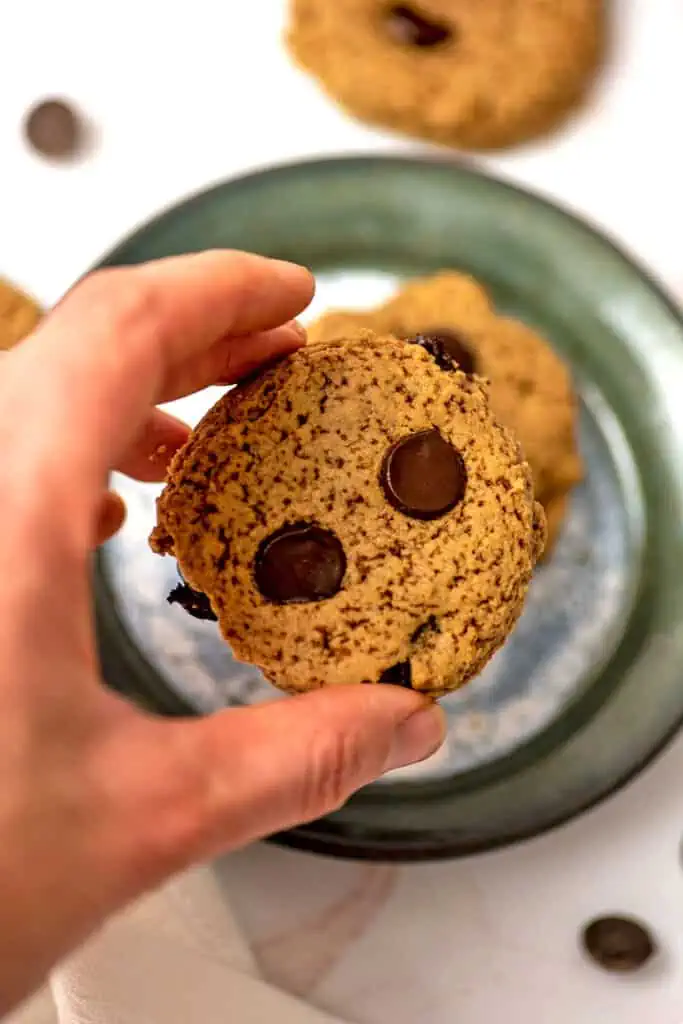
Instead of pressing the cookies down with your fingers, you can add a Hershey’s kiss to the center to make these peanut butter chocolate protein cookies.
Other great mix-in’s include:
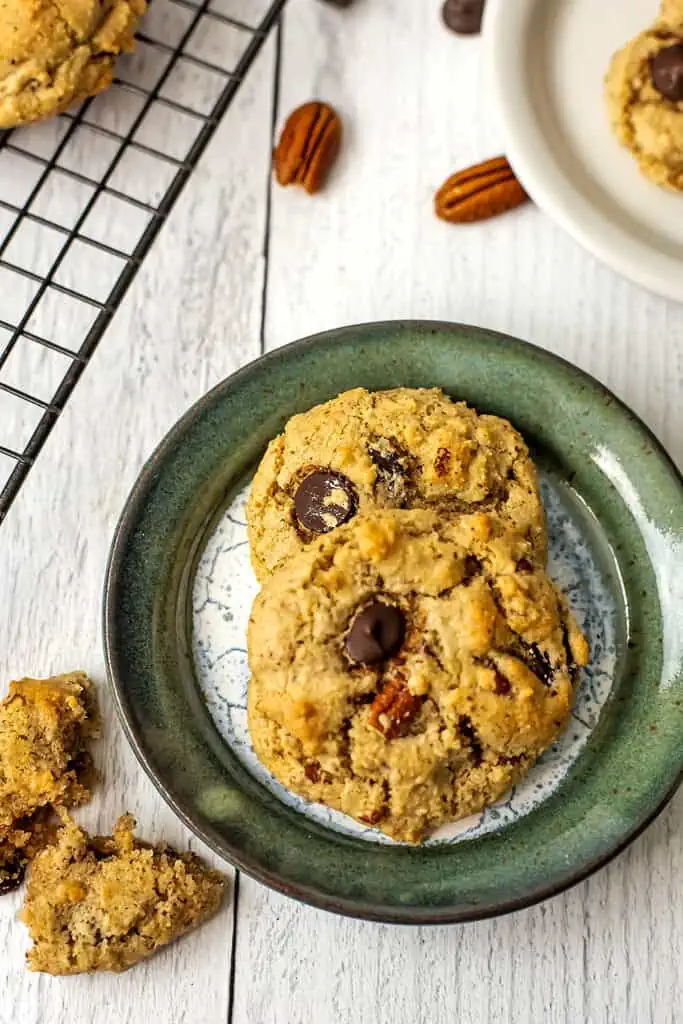
- Dairy-free chocolate chips or chopped up peanut butter cups
- Crumbled up freeze dried raspberries, strawberries or bananas
- Coconut flakes
FAQs
What kind of protein powder should I use for these cookies?
Not all protein powders work the same in baking. This recipe is written with vegan protein powder, which absorbs liquid more like flour and gives the cookies the right texture. I always add a little flour too, since vegan protein alone doesn’t provide the same stability.
I don’t recommend using whey protein here, it tends to dry out baked goods and can make cookies crumbly if swapped 1:1 for vegan powder. If you’d like to bake with whey, look for a recipe designed specifically for it.
My go-to is ProMix Vanilla Vegan Protein, I love the simple ingredients and the flavor is great for baking.
Can I freeze the dough before baking?
Yes! Line a baking sheet with wax paper, roll the dough into balls, press them down with a fork to make the classic crisscross pattern, and freeze until solid. Once frozen, transfer the cookies to a freezer-safe bag.
When ready to bake, place them directly in the oven from frozen at 350°F for 17 minutes, no thawing needed.
Can I eat the dough raw
Absolutely! Since these vegan protein cookies don’t contain eggs, the dough is completely safe to enjoy raw.