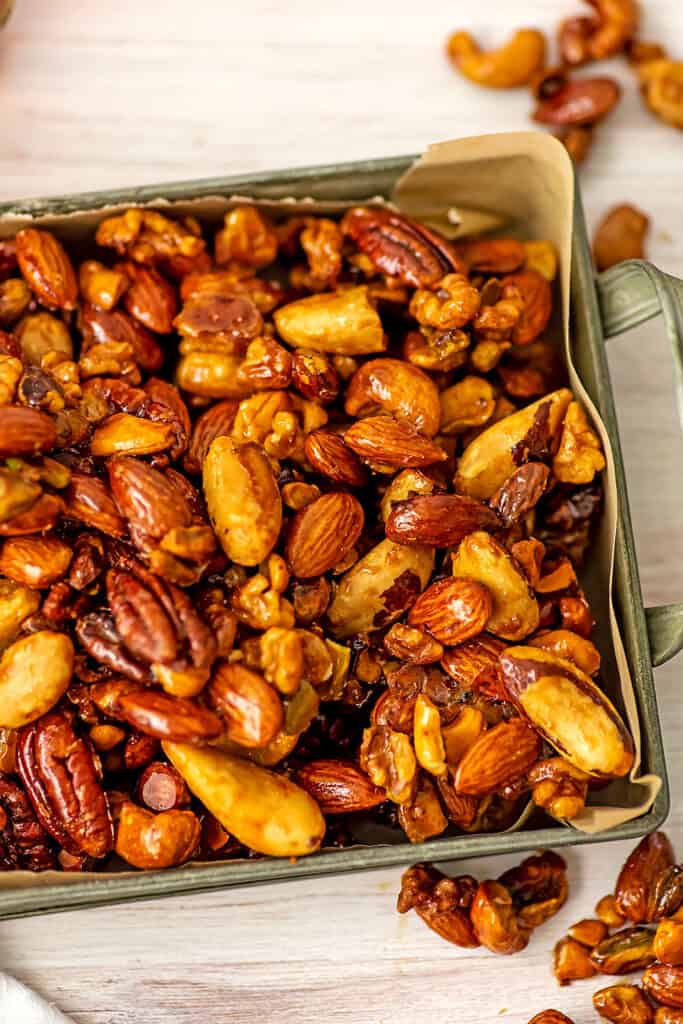
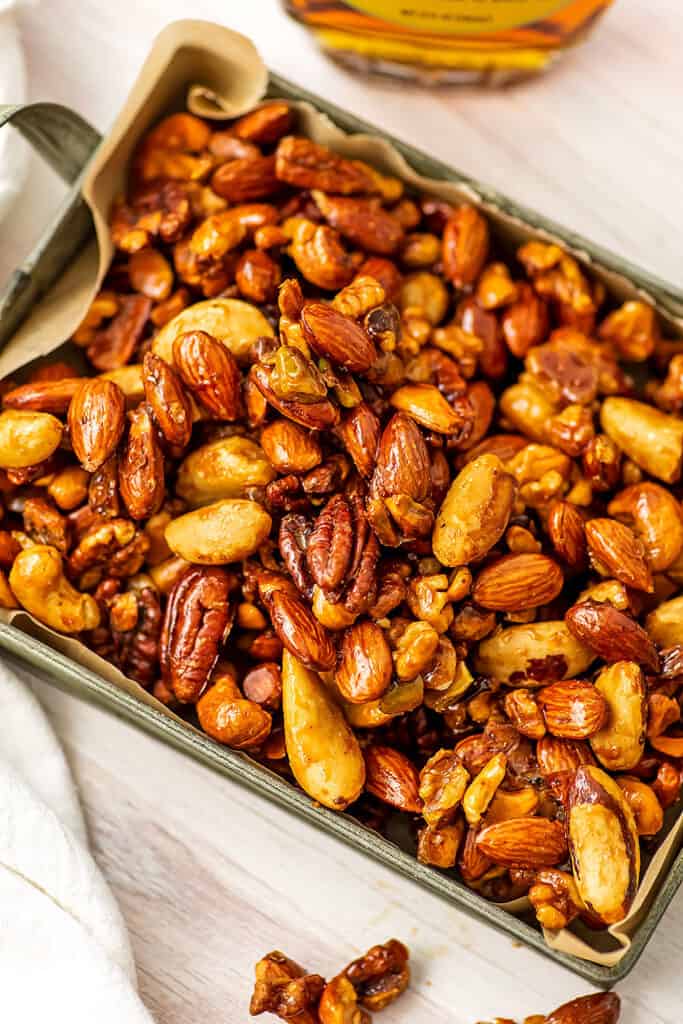
Roasted Maple Nuts

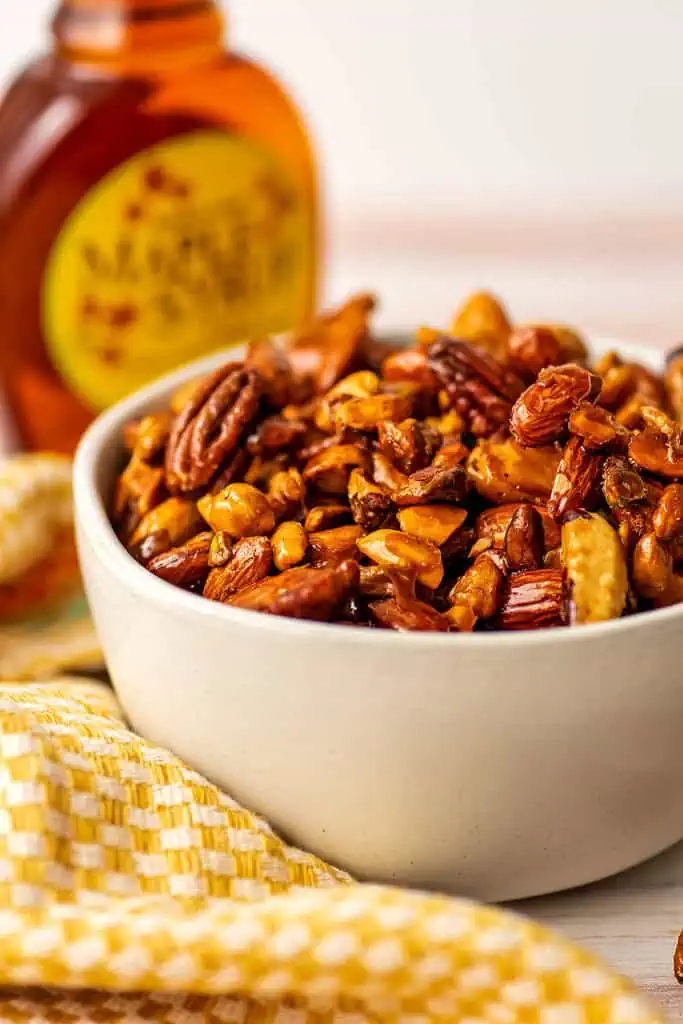
Candied maple nuts are sweet, salty and the perfect snack or simple appetizer. These healthy mixed nuts are crunchy, delicious and perfectly snackable. Don’t be surprised if these maple spiced nuts disappear quickly.
Why you will love this recipe
- Easy to make – these maple nuts roast in the oven, so there is very little hands on time for this recipe. Most maple spiced nuts are made on the stove, where you have to keep a close eye on the nuts or they will burn. These are so easy, just mix, roast, stir and cool.
- Simple ingredients – these candied maple nuts are made with 4 easy to find ingredients – nuts, maple syrup, vanilla extract and salt. You can also make these spicy, smoky or savory if you add in some other ingredients (see my ideas below).
- Great for snacking or as a holiday gift – these spiced maple nuts are great as a homemade gift for the holidays. They last up to 2 weeks in a well sealed jar and taste better than most candied nuts you would buy at the store. These can also be served at parties as an appetizer or part of a charcuterie board.
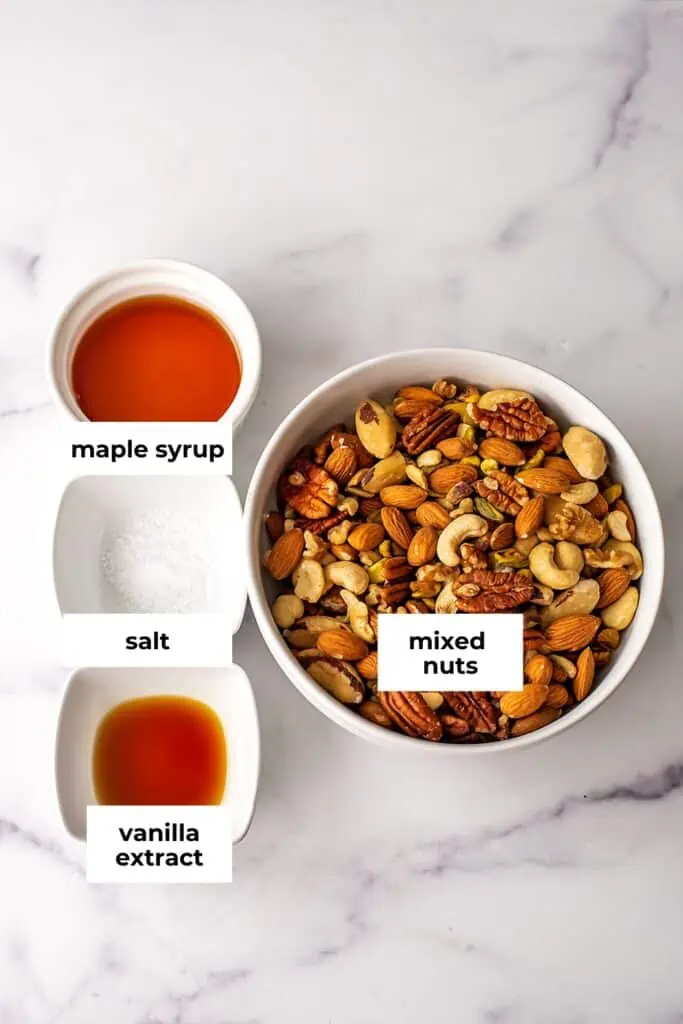
Ingredients
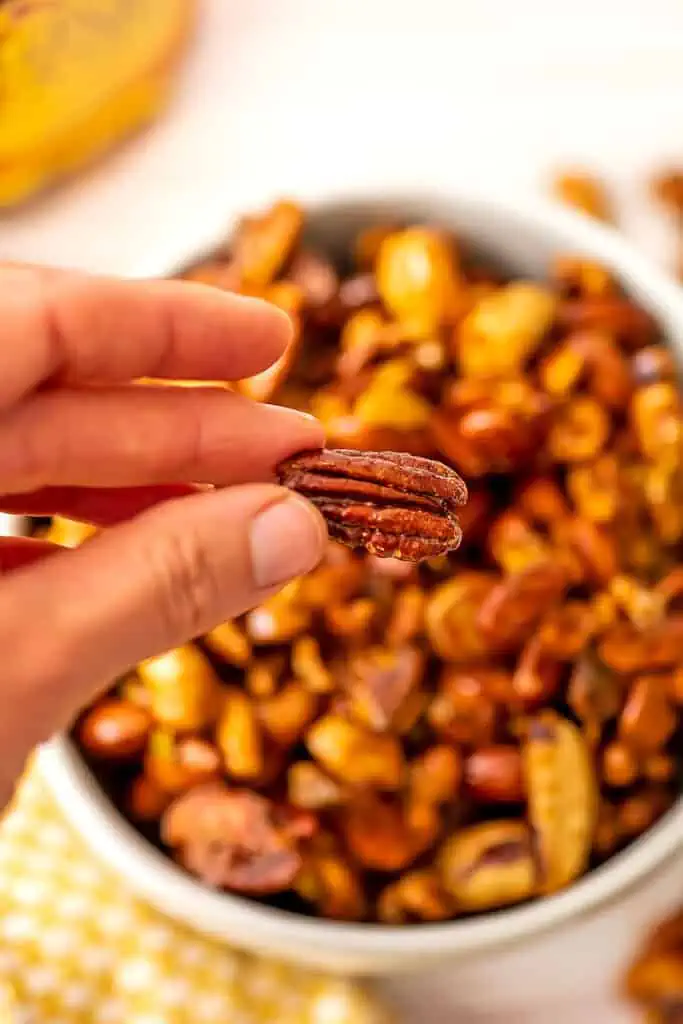
- Mixed nuts – I recommend using raw nuts when possible. Roasted nuts may burn when roasting with maple syrup in the oven. You can use any combination of nuts as you prefer – I really like the combination of almonds, pecans, cashews, walnuts, pistachios and Brazil nuts. You could also use just pecans, just cashews or just walnuts.
- Maple syrup – maple syrup creates a candied exterior on the mixed nuts.
- Salt – salt helps to add balance to the sweetness from the maple syrup. The nuts won’t be too sweet or too salty, just perfect.
- Vanilla extract (optional) – vanilla extract helps to create more of a candied flavor to the nuts. The vanilla deepens the flavor and really makes the maple nuts taste like candy.
How to make maple nuts
Preheat the oven to 350F.
In a bowl add the mixed nuts, maple syrup, salt and vanilla extract. Stir well 1-2 minutes to fully coat the nuts with maple syrup.

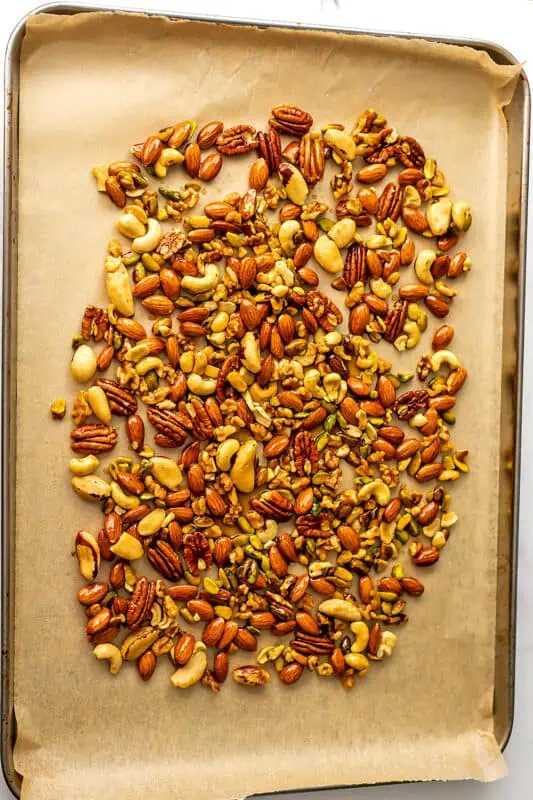
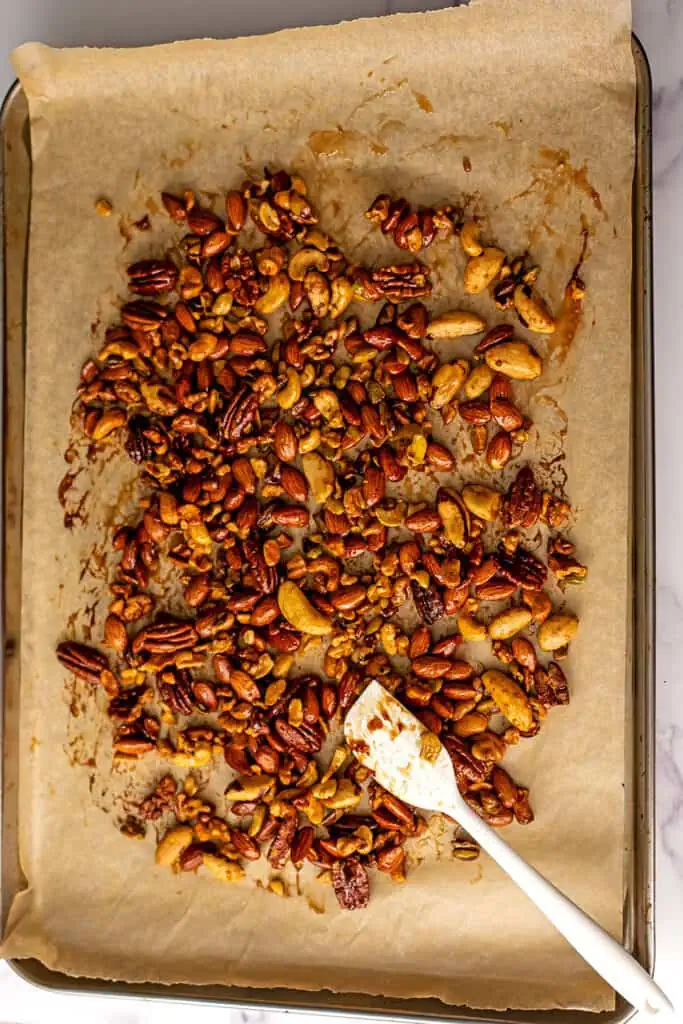
Add parchment paper to a baking sheet and pour the maple nut mixture onto the parchment paper. Flatten out the nuts into a single layer.
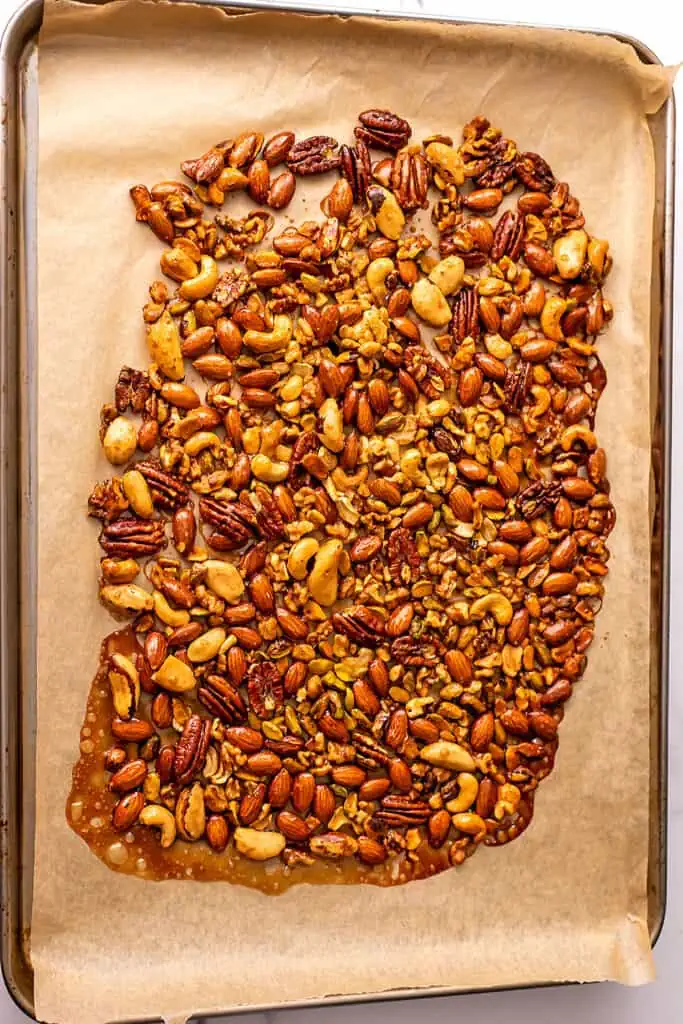
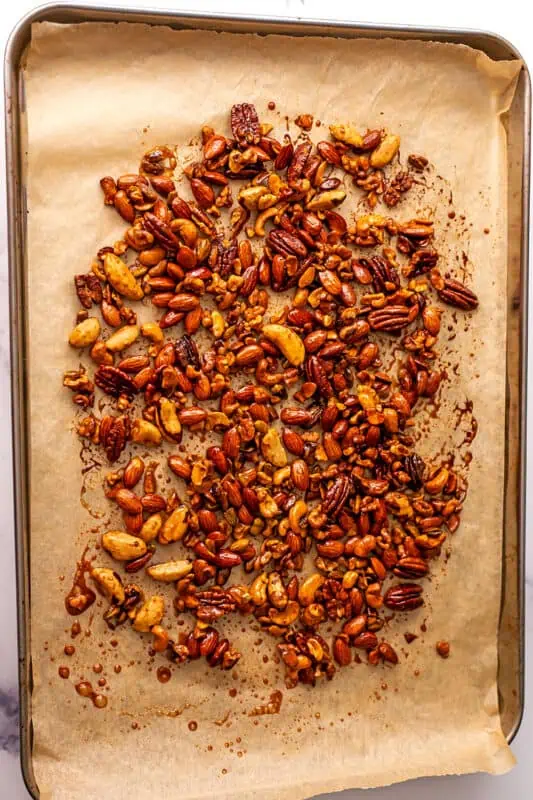
Roast the nuts at 350F for 20 minutes. After 20 minutes, take the nuts out of the oven and stir well. Turn off the oven and put the nuts back in the oven to cool 10 minutes.
After 10 minutes in the oven that has been turned off, take the nuts out of the oven and allow them to continue to cool until no longer sticky (10-15 minutes).
Enjoy once the nuts are cooled down.
Top tips
- Be sure to let the nuts start to cool in the oven once it’s turned off. This helps ensure the candy coating is created but the nuts don’t burn.
- Use parchment paper to ensure the nuts don’t stick to the baking sheet. It is very difficult to remove the candied maple nuts from the baking sheet once they harden without parchment paper.
- Use any combination of nuts that you love. You can make these into maple pecans, maple almonds, maple cashews or a combination of your favorite nuts.
- Use raw nuts when possible. Roasted nuts may burn because they have already been roasted to the point of toasting the nuts already.
- If you are using salted nuts, omit the salt from the recipe.
- These nuts are very hot right out of the oven, allow them to cool or you will burn your tongue.
- Use real maple syrup (not maple flavored pancake syrup). The imitation syrup will not work the same as maple syrup in this recipe.
Other additions
- Fresh rosemary
- Flaky salt on the top after baking for a salty crunch
- Smoked salt for a smoky/salty/sweet combination
- Cinnamon, pumpkin pie spice for a holiday spiced nut flavor
- Pinch of cayenne pepper or red pepper flakes for a spicy/sweet mixture
- Orange zest or lemon zest (about 1 teaspoon)
Ways to use maple spiced nuts
As a snack – alone or mixed with pretzels, chips, etc. for a sweet/salty combo
As part of dessert on ice cream or yogurt
Chopped up and served over pancakes, waffles, oatmeal
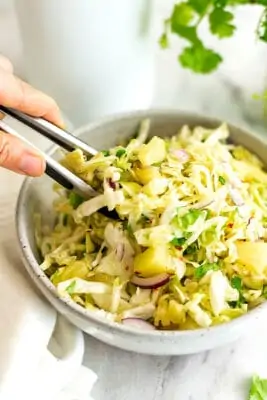
On salads for a sweet and savory combination (these would be great on a pumpkin quinoa salad)
Use on a charcuterie board for a sweet homemade treat
Make your own trail mix with these maple nut, salted roasted nuts, chocolate chips, and dried cranberries
Use them as a topper for your sweet potato casserole (add at the end)
Common questions
Can you make candied maple nuts in advance?
Yes, you can make these up to 3 days in advance. Once they come out of the oven, allow them to cool completely 3-4 hours before storing in an airtight container. Leave at room temperature until ready to serve.
Store up to 2 weeks in an airtight container. However if you are serving these for a party, I recommend they are fresh (made within 3 days) for the best texture
Can you double the recipe?
You can easily double the recipe if you have an extra-large baking sheet or 2 regular sized baking sheet. You want the nuts to be flat on the baking dish, not mounded up in clumps when roasting.
What kind of nuts to use to make maple glazed nuts
I recommend using raw nuts (these are not roasted in advance) so that the nuts are less likely to burn when roasting. If you are using roasted nuts, turn the oven down to 325F degrees when roasting to help ensure they don’t’ burn.
You can use any combination of the following nuts (or just 2.5 cups of one of these nuts on it’s own)
- Almonds
- Walnuts
- Pecans
- Cashews
- Pistachios
- Brazil nuts
- Pumpkin seeds
- Hazelnuts
Storing leftovers
Countertop – store in an airtight container on the counter for up to 2 weeks. Be sure to allow the nuts to cool completely (3-4 hours) before storing.
If you love this recipe, you should try
Rosemary Spiced Nuts
Spiced Sunflower Seeds
Chocolate Covered Apricots
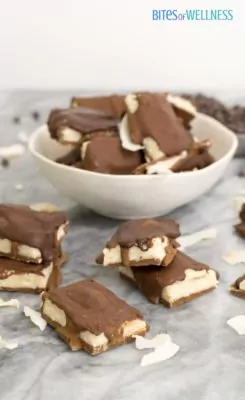
Chocolate Peanut Butter Rice Krispy Treats
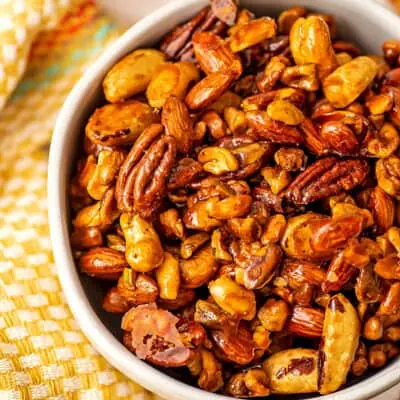
Maple Nuts
Ingredients
- 2.5 cups mixed nuts
- 1/4 cup maple syrup
- 1/2 tsp. sea salt
- 1 tsp. vanilla extract - (optional)
Instructions
- Preheat oven to 350F
- In a large bowl, combine the mixed nuts, maple syrup, salt and vanilla extract. Stir well 1-2 minutes to fully coat the nuts.
- Add parchment paper to a baking sheet.
- Pour nuts onto parchment paper and spread them out so they are evenly distributed.
- Bake at 350F for 20 minutes.
- After 20 minutes, turn off the oven. Take the nuts out of the oven and stir well. Place the nuts back in the oven (that has been turned off) and let them cool for 10 minutes.
- After 10 minutes in the oven (that was turned off), take the nuts out and allow them to continue to cool 10-15 minutes more until cooled completely.
Recipe Notes
- Be sure to let the nuts start to cool in the oven once it’s turned off. This helps ensure the candy coating is created but the nuts don’t burn.
- Use parchment paper to ensure the nuts don’t stick to the baking sheet. It is very difficult to remove the candied maple nuts from the baking sheet once they harden without parchment paper.
- Use any combination of nuts that you love. You can make these into maple pecans, maple almonds, maple cashews or a combination of your favorite nuts.
- Use raw nuts when possible. Roasted nuts may burn because they have already been roasted to the point of toasting the nuts already.
- If you are using salted nuts, omit the salt from the recipe.
- These nuts are very hot right out of the oven, allow them to cool or you will burn your tongue.
- Use real maple syrup (not maple flavored pancake syrup). The imitation syrup will not work the same as maple syrup in this recipe.
- Fresh rosemary
- Flaky salt on the top after baking for a salty crunch
- Smoked salt for a smoky/salty/sweet combination
- Cinnamon, pumpkin pie spice for a holiday spiced nut flavor
- Pinch of cayenne pepper or red pepper flakes for a spicy/sweet mixture
- Orange zest or lemon zest (about 1 teaspoon)


I’ve made these several times, they are so good! Love the fact there are only 4 ingredients.
So glad these have become a go-to recipe for you! I really appreciate you coming to leave a review, it means so much! Happy cooking – xo Sam
Nice!! I do not eat eggs. What is the replacement?
You can add half the maple mixture before putting these in the oven and the other half as soon as they are done. Let them dry out a bit and they should still be delish! Enjoy!
Yum! These look amazing! I can’t wait to make this! Thank you for sharing these healthy and delicious Maple Vanilla Mixed Nuts with us at the Healthy, Happy, Green and Natural Party Blog Hop! I sincerely appreciate it. I’m pinning and sharing!
Deborah, thank you for pinning!! Thanks so much for hosting!
These looks soo delicious! Yum! Thanks so much for sharing at our link party!
Just the NAME of this recipe had me drooling. These look so good! Thank you for linking up the recipe at This Is How We Roll Thursdays.
Yum! These sound so good. I love the sweet and salty mixture. Have pinned and must try this out!
Katie, thanks they are so yummy! Sweet and salty is where it’s at!
Yum, these sound great! I definitely need an afternoon snack on the days I work out after work and these sound like a good option. I’d have to practice appropriate portion control though, and I have a hard time doing that with nuts some times!
Ahh, I have all of these ingredients except for coconut sugar and stevia! Can I just use regular sugar?
Jess of course!! You could use all maple syrup as well! Let me know what you think!
I love maple and vanilla flavors. Delicious idea without all of the guilt of those holiday spiced nut mixtures that are loaded with sugar and butter. This would be a perfect snack for me during the week.
Erin, yes I had to figure out how to make these yummy nuts without all that added fat and sugar!
I love snacking on nuts! yum I haven’t used coconut sugar yet.
Deborah, I really love coconut sugar. It reminds me of brown sugar, but won’t spike your insulin as bad! You should try it!
I’m a multiple meals a day person with snacks in between. Essentially eat all the things. I try to be kind of structured, but it is kind of difficult when you have MAPLE VANILLA MIXED NUTS
Haha yes I know – snacking is so necessary!! I eat all the food all the time :) lol But yes these are dangerous!