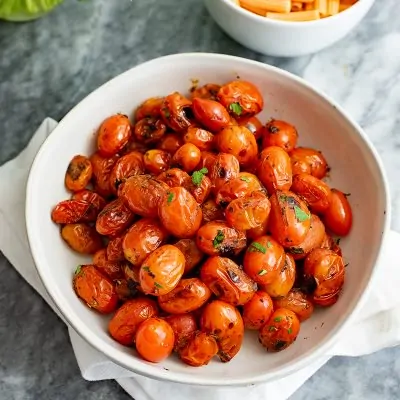
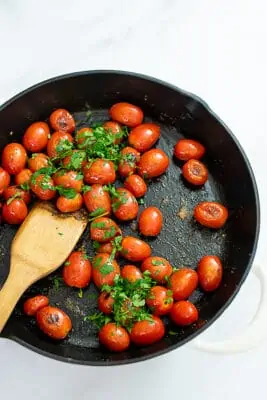
Skillet Blistered Tomatoes

Blistered cherry tomatoes cook in just 5 minutes and instantly add rich, sweet, tangy flavor to any meal. All you need is a hot skillet and fresh cherry or grape tomatoes, no oven required.
I’ve been making this recipe every summer since 2018, often multiple times a week once my garden starts producing. After more than 7 years of testing and perfecting, I can confidently say this is one of the fastest, most flavorful ways to use up fresh tomatoes, whether you’re piling them on crusty bread, tossing them into pasta or salads, or spooning them over eggs or grain bowls.
If you’re looking for more ways to use up tomatoes, be sure to try my homemade salsa with cherry tomato or roasted cherry tomato pasta sauce. Both are incredibly simple and bring out the best in fresh summer tomatoes!
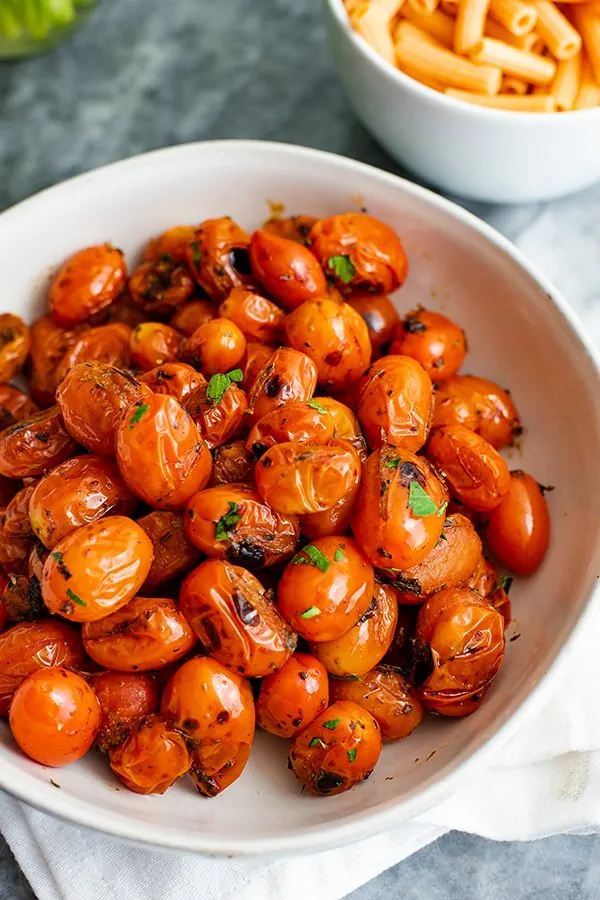
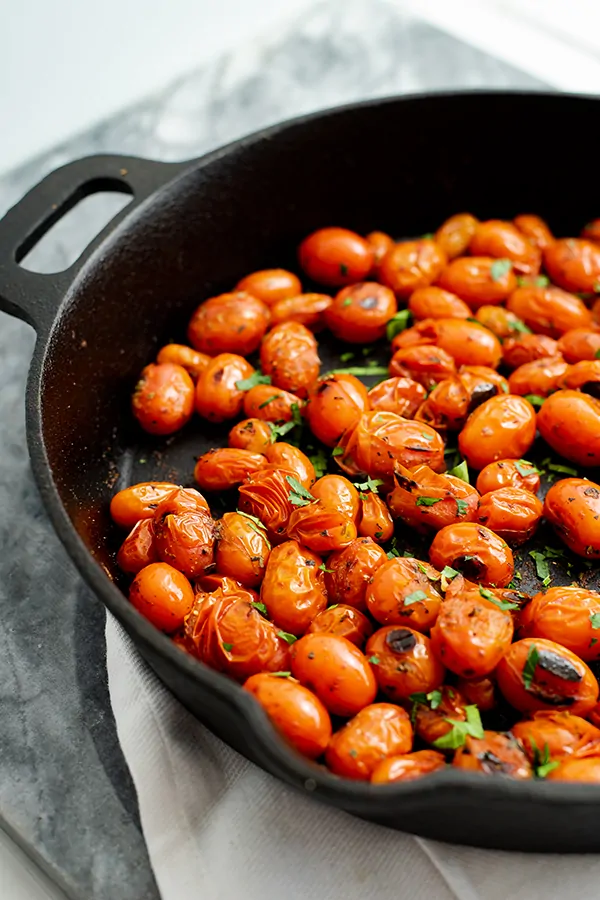
You can make these blistered tomatoes on the stove or even on a hot grill, just grab a cast iron or stainless steel skillet and a high-heat oil like avocado oil. They cook up in just five minutes, so be sure to keep an eye on them to prevent burning. As they heat up, don’t be surprised when the cherry tomatoes start to burst, that’s part of the fun and what makes them so irresistible! The quick cooking process intensifies their natural sweetness, making them perfect for topping everything from grilled meats to creamy ricotta toast.
The best pan to use
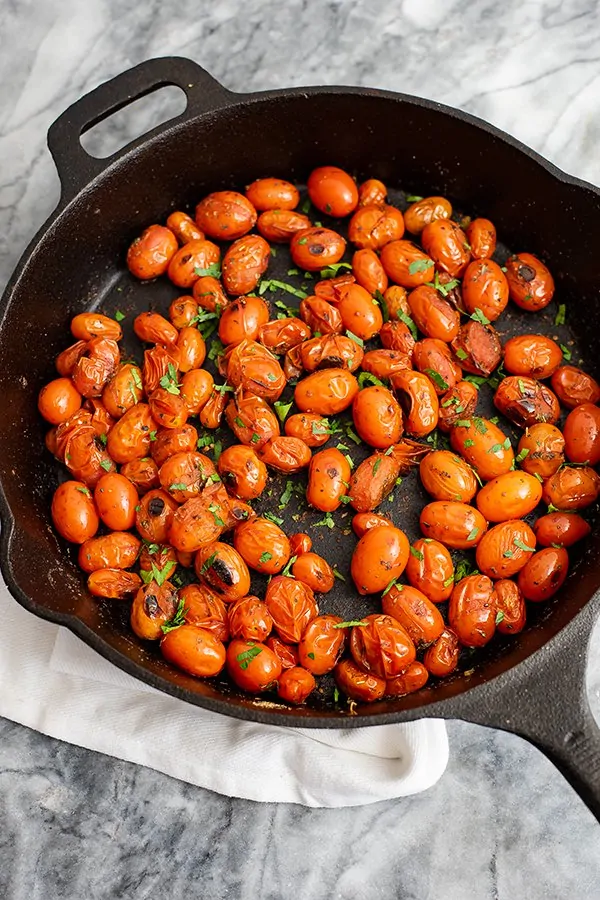
A cast iron skillet is my favorite because it holds and distributes heat evenly, making it perfect for getting those burst tomatoes. Plus, you can even use a cast iron skillet on the grill, an easy way to cook without heating up the house in the summer!
If you don’t have a cast iron skillet, a stainless steel pan is another great option. The key is to let the pan get hot before adding the tomatoes.
I don’t recommend using non-stick pans, as the coating may not be able to withstand the high heat required for this recipe.
Blistered Cherry Tomatoes in a Skillet – Ready in 10 Minutes
Guided Recipe Video
Ingredients
- 2 pints cherry or grape tomatoes
- 2 tablespoons avocado oil - or coconut oil
- 1 teaspoon sea salt
- 1 teaspoon garlic powder
- 2 tablespoons fresh basil, parsley, mint or oregano, chopped - choose one or a mixture of all
Instructions
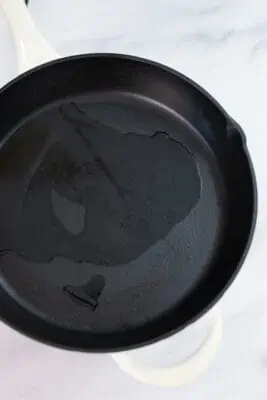
- Preheat a large cast iron (or non-stick) skillet over medium heat for 3-5 minutes. Once hot, add the avocado oil and make sure it is evenly distributed around the pan (use a silicone brush or just rotate the pan until evenly distributed)2 tablespoons avocado oil

- Add the tomatoes and quickly toss them to get coated in the oil. Allow the tomatoes to cook, un-touched for 3 minutes. Stir and cook 2 minutes more.2 pints cherry or grape tomatoes
- Turn off the heat and add the salt, garlic powder and fresh herbs. Serve hot or cold1 teaspoon sea salt, 1 teaspoon garlic powder, 2 tablespoons fresh basil, parsley, mint or oregano, chopped

Equipment
- Cast Iron Skillet
Recipe Notes
- Start with a hot skillet – A properly preheated cast iron or stainless steel pan is key. Let it heat over medium heat for about five minutes before adding anything. This ensures the tomatoes blister quickly.
- Heat the oil before adding tomatoes – Once the skillet is hot, add a high-heat oil like avocado oil and let it warm for about 30 seconds. This helps jumpstart the blistering process. Swirl the oil around with a silicone brush or by carefully tilting the pan (use an oven mitt if using cast iron).
- Use dry tomatoes – If your tomatoes are wet, they will pop when added to the hot oil and this can be dangerous.
- Don’t overcrowd the pan – If needed, cook in batches to give each tomato enough contact with the hot surface.
- Let them cook undisturbed at first – Resist the urge to stir right away. Let the tomatoes sit in the hot oil for about 3 minutes before moving them so they develop a nice blistered surface.
- Finish with flavor – A sprinkle of fresh herbs like basil, parsley, thyme or oregano adds extra depth. For a little extra richness, drizzle with olive oil before serving.
If you have leftovers, store them in an airtight container in the fridge for up to 3 days. You can reheat them in a hot skillet for a minute or two, or enjoy them cold in salads or on toast.
Nutrition Information
Ways to customize
- Spice it up – Add a pinch of crushed red pepper flakes
- Boost the veggies – Stir in roasted red peppers, chopped artichoke hearts, or sundried tomatoes after cooking for extra texture and flavor
- Make it creamy – Crumble feta or goat cheese over the warm tomatoes for a rich, tangy contrast.
- Drizzle on a sauce – Finish with pesto, lemon herb tahini sauce, or a creamy basil dressing for even more flavor.
Common questions
Can I use other tomatoes
Cherry tomatoes and grape tomatoes are best for this recipe because they cook quickly and blister beautifully. If you’re working with larger tomatoes, I recommend roasting them in the oven instead to achieve a similar result.
Can I use dried herbs?
Yes! Since dried herbs are more concentrated in flavor, you’ll only need about 1 teaspoon of dried herbs to replace fresh herbs in this recipe.


I loved these. Will be making them again!
That’s so great to hear Erica!! So glad you love them
In instructon #3, I assume you mean “coated in the oil”
Yes – thank you :)