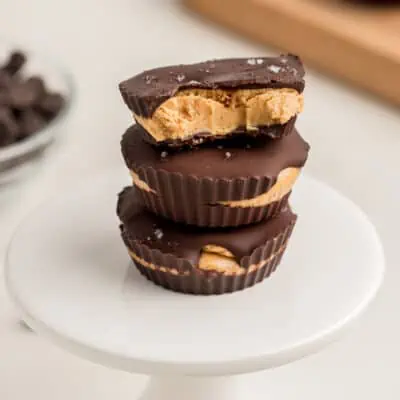
Protein Peanut Butter Cups
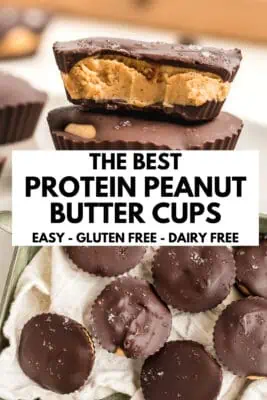
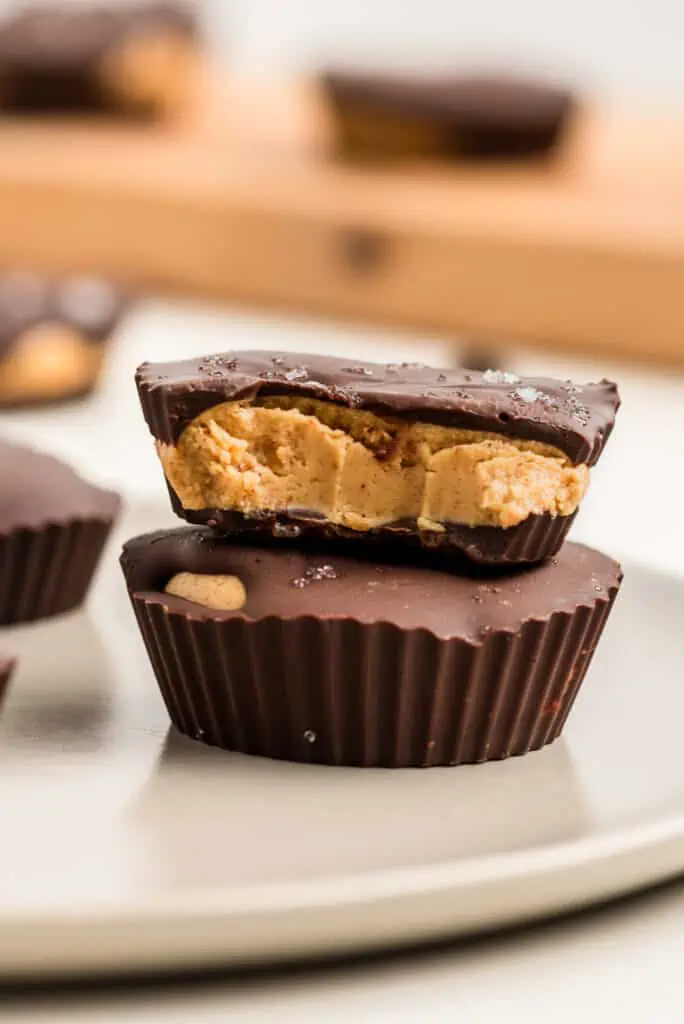
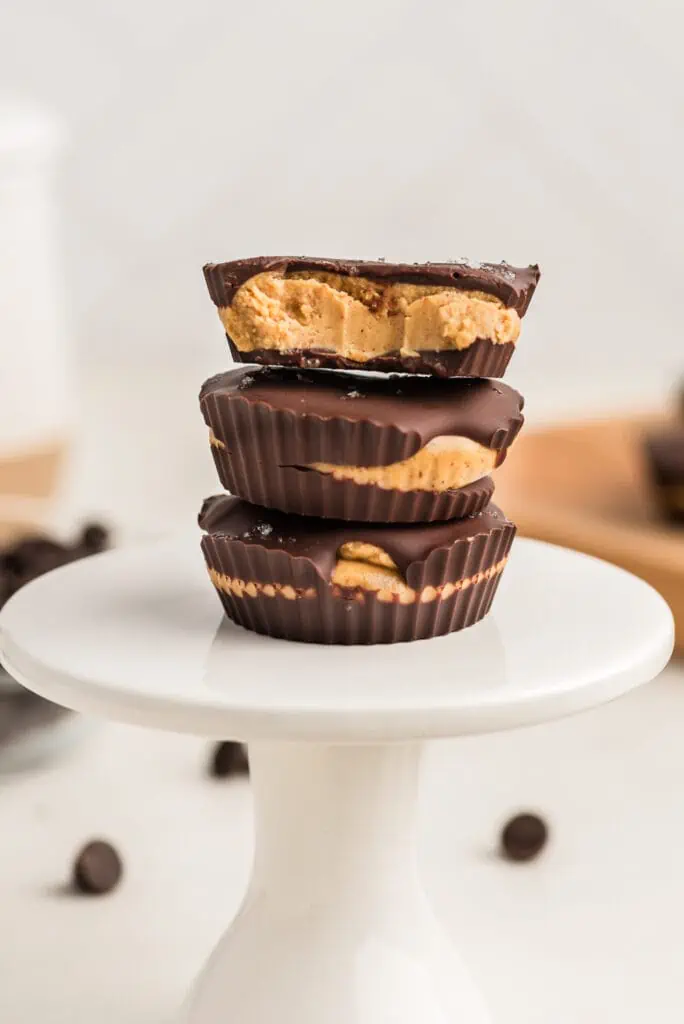
Protein peanut butter cups are a fun twist on a classic dessert! These high protein peanut butter cups have a rich, creamy peanut butter center and are coated with a layer of dark chocolate. With just 5 simple ingredients, these no bake peanut butter protein cups are guaranteed to become your new favorite snack.
For more high protein desserts, you should try this almond butter protein bites or chocolate protein banana bread.
Why you will love this recipe
- Easy to make
- No Bake
- Simple recipe
- Better for you ingredients
- Perfectly sweet
- Can be made vegan, dairy free and gluten free
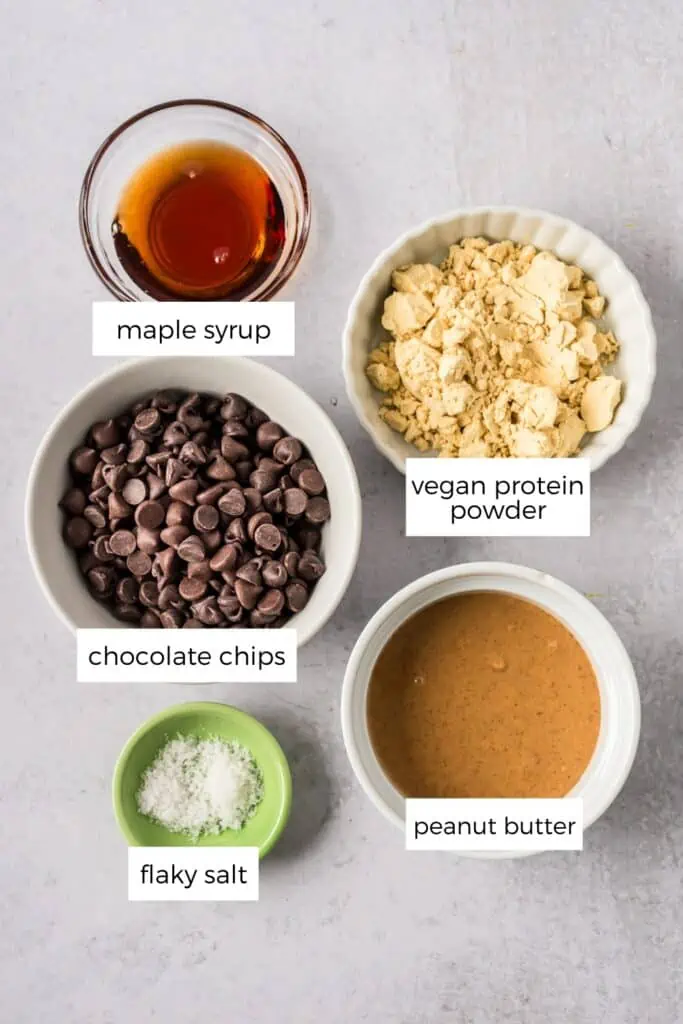
Ingredients
- Dairy free chocolate chips – I personally love really dark chocolate for this recipe, but use whatever you have on hand.
- Peanut butter – I recommend using a natural peanut butter (with just peanuts or peanuts and salt in the ingredient list). Make this peanut free by using sunbutter, almond butter, tahini, etc.
- Protein powder – I recommend using a vegan vanilla protein powder in this recipe. The vegan protein helps thicken the peanut butter center, making it more like a Reese’s. If you don’t have protein powder, add a few tablespoons of oat flour or coconut flour.
- Maple syrup – If you are trying to keep this recipe lower in sugar, use a low carb sweetener in place.
- Flaky salt (optional) – a pinch of flaky salt on top helps balance out the sweetness (making the sweet taste even sweeter).
How to make protein peanut butter cups
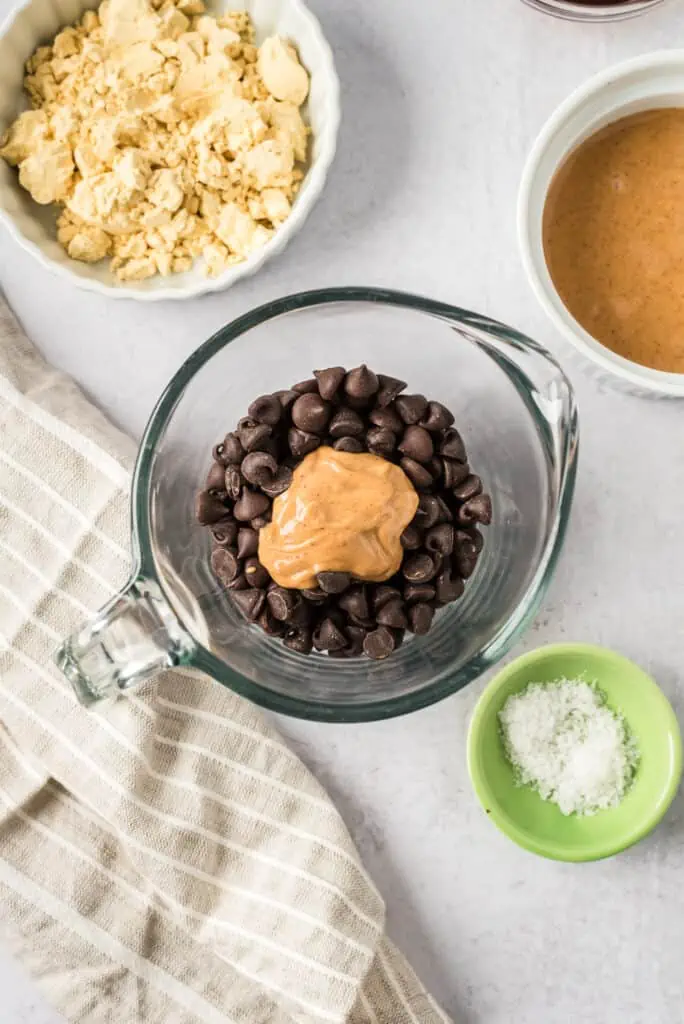
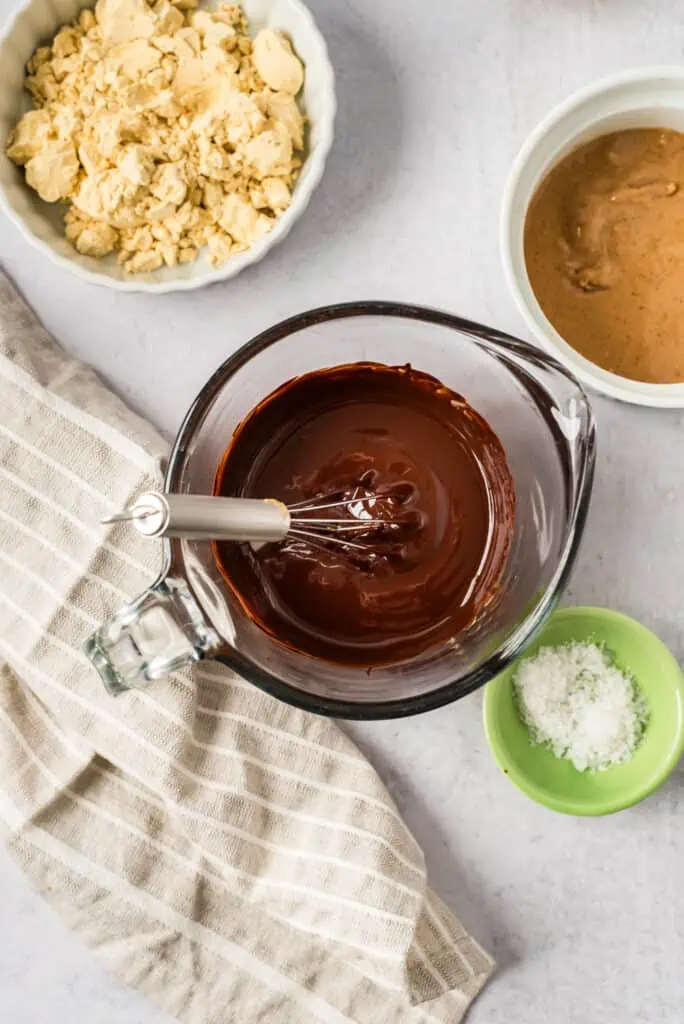
Melt the chocolate –Microwave chocolate chips in a bowl for 1 minute, stir and return to the microwave for 15-30 more seconds. Stir well until smooth.
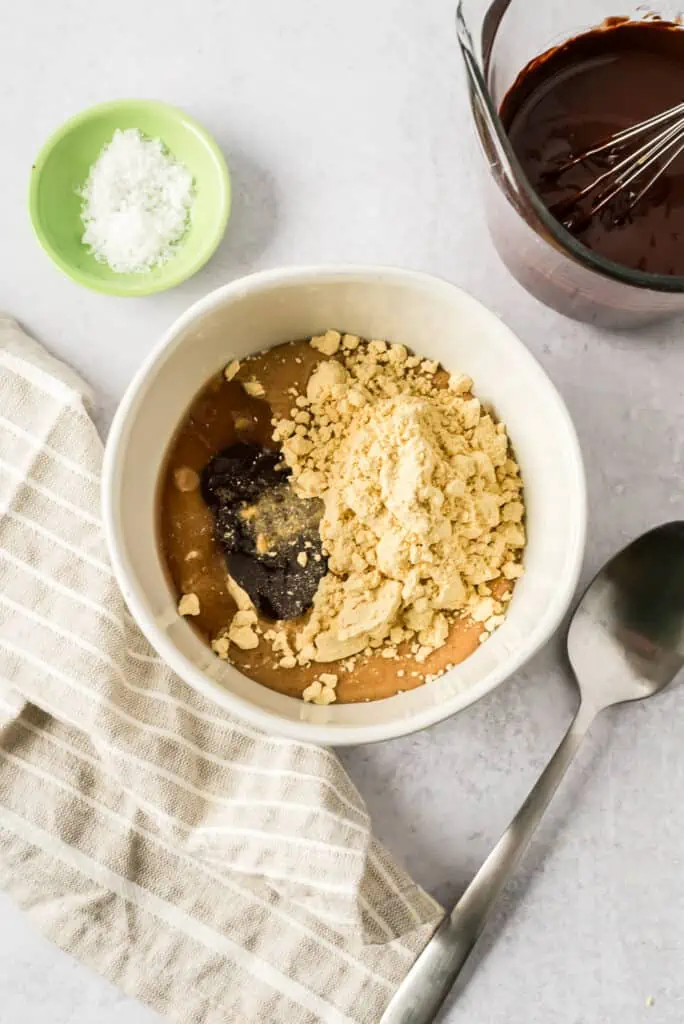
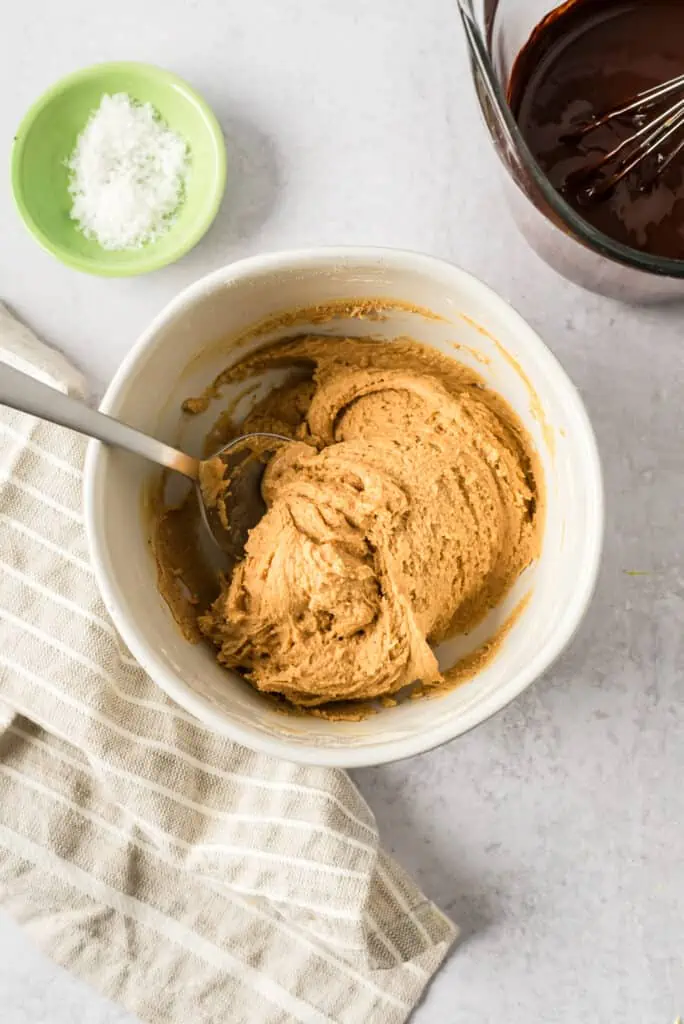
Make the peanut butter filling – combine peanut butter, protein powder and maple syrup in a bowl. Stir well until well combined. Let rest 1-2 minutes while you portion out the chocolate.
Assemble the peanut butter protein cups:
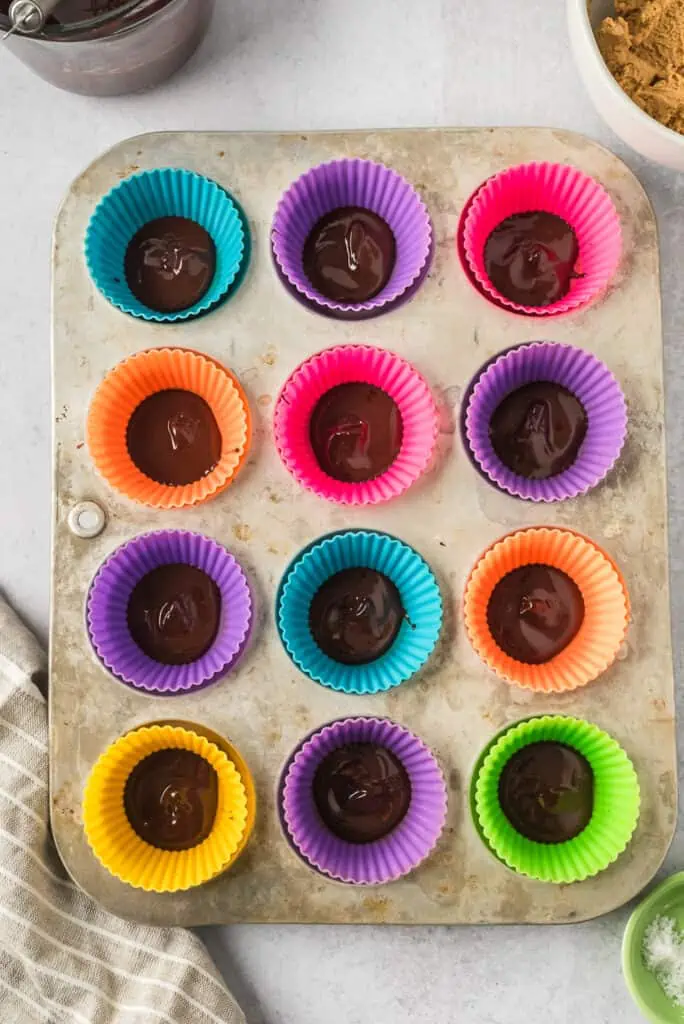
- Add liners to the muffin tin, add 1 teaspoon melted chocolate, a tablespoon of the peanut butter mixture (pressed into a disk) and topped with 1 teaspoon melted chocolate. Sprinkle with salt and place in the freezer to set up.
Common questions
What is the best protein powder to use
For this recipe, I used a vegan vanilla protein powder (pea protein). I like how the protein powder makes the peanut butter a little thicker, mimicking Reese’s cups.
You could also use collagen peptides, whey protein or beef isolate but you will want to also add 2-3 tablespoons of oat flour or 1-2 tablespoons coconut flour to the mixture as well to get the same texture.
Can you use powdered peanut butter?
If you want to increase the peanut butter flavor, you could swap the vanilla protein powder out with powdered peanut butter (use about 1/3 cup) but you cannot swap the peanut butter for powdered pb. You need the fat from the peanut butter to ensure they have the right texture and consistency.
What kind of peanut butter to use
For this recipe I use natural peanut butter (the kind you have to stir the oil into when you first open the jar). The only ingredients are peanuts (or peanuts and salt).
I have not tried this recipe with the no-stir peanut butter, but I imagine it should work well. If the peanut butter filling looks too thick, add 1-2 tablespoons of melted coconut oil.
Want to make these without protein powder
Swap out the protein powder for 2-3 tablespoons of oat flour or 1-2 tablespoons coconut flour. I don’t recommend using gluten free flour or all purpose flour since that needs to be heat treated before using in no-bake recipes.

How to store peanut butter protein cups
Fridge: Store in the fridge in an airtight container for up to a week. They will be a little fragile but will be ready to eat right away.
Freezer: The freezer is the ideal place to store these protein peanut butter cups. Store in a freezer safe bag or container (I love Stasher bags) for up to 3 months. Be sure to let them rest on the counter for 10-15 minutes before enjoying, as the center gets very hard when frozen and needs to defrost.
Protein Peanut Butter Cups
Ingredients
- 3/4 cup dairy free chocolate chips
- 1 tbsp peanut butter
- pinch flaky salt
Protein Peanut Butter Filling
- 1/2 cup peanut butter
- 3 tbsp maple syrup
- 1 serving vegan protein powder - vanilla
Instructions
- Add the chocolate chips and 1 tablespoon peanut butter to a microwave safe bowl. Microwave the chocolate for 1 minute, stir then add 15-30 more seconds. Stir well until the chocolate is melted.
- Make the protein peanut butter filling. Combine the peanut butter, maple syrup and protein powder in a bowl. Stir well until the protein powder is completely dissolved and incorporated.
- Add liners to the muffin tin (I recommend silicone liners).
- Add 1 teaspoon of melted chocolate to the bottom of each muffin tin.
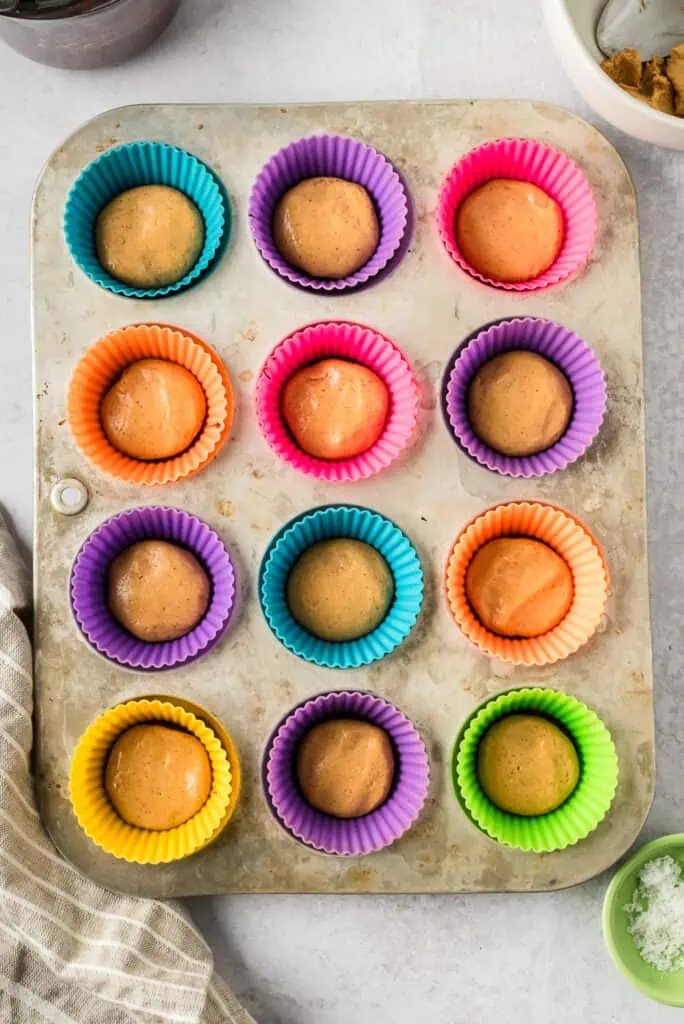
- Spoon out about 1 tablespoon of the peanut butter filling. Roll into a ball and press into a disk. Add each peanut butter disk to the melted chocolate in the muffin tin.
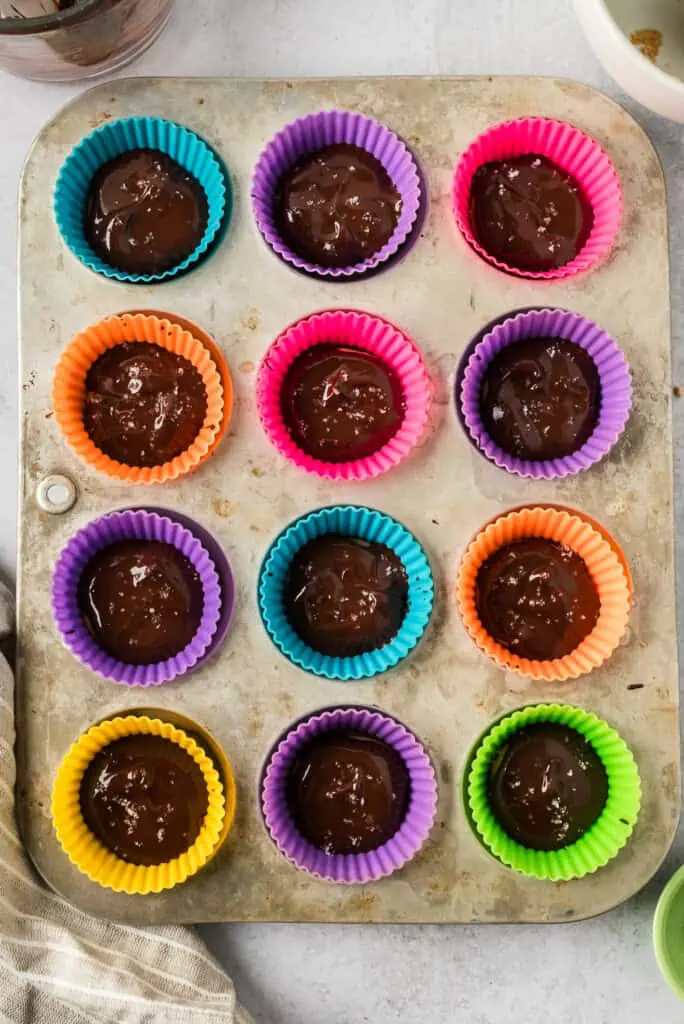
- Top the peanut butter disk with 1 teaspoon of melted chocolate and spread the chocolate out over the peanut butter. Sprinkle the peanut butter cups with flaky salt.
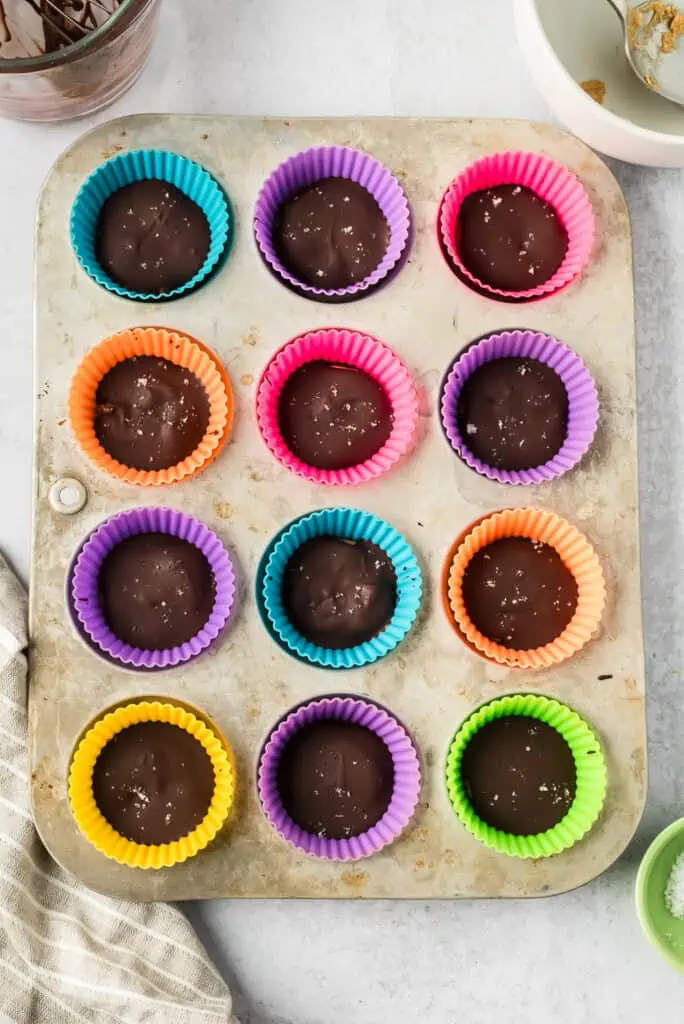
- Place the peanut butter protein cups in the freezer and store for 30 minutes (or more).
- Once the chocolate has set, remove the peanut butter cups from the silicone liners and store in a freezer safe bag or container.
Recipe Notes
- If you store the protein peanut butter cups in the freezer, allow them to sit out on the counter for 5-10 minutes before enjoying. The peanut butter center is hard to bite through when frozen.
- Use silicone muffin liners. They are reusable and the peanut butter protein cups slip right out of them.
- If you are going to top these with flaky salt, add the salt before you put them in the freezer or it won’t stick.

I love peanut butter cups and these do not disappoint. What a treat! They were incredibly easy to make too, which I love. I will be making these often.
Aren’t these just so fun to make and enjoy! I try to never let our freezer stash run out! So glad you love them as much as we do!